Airbrushing 101 (Part 4) - Cleaning Your Airbrush
Posted by MegaHobby.com on Mar 27th 2024

Cleaning the airbrush post-use is a crucial step. Cleaning involves flushing the airbrush with the appropriate thinner or cleaner and removing the needle for thorough wiping and cleaning of all components before storage.
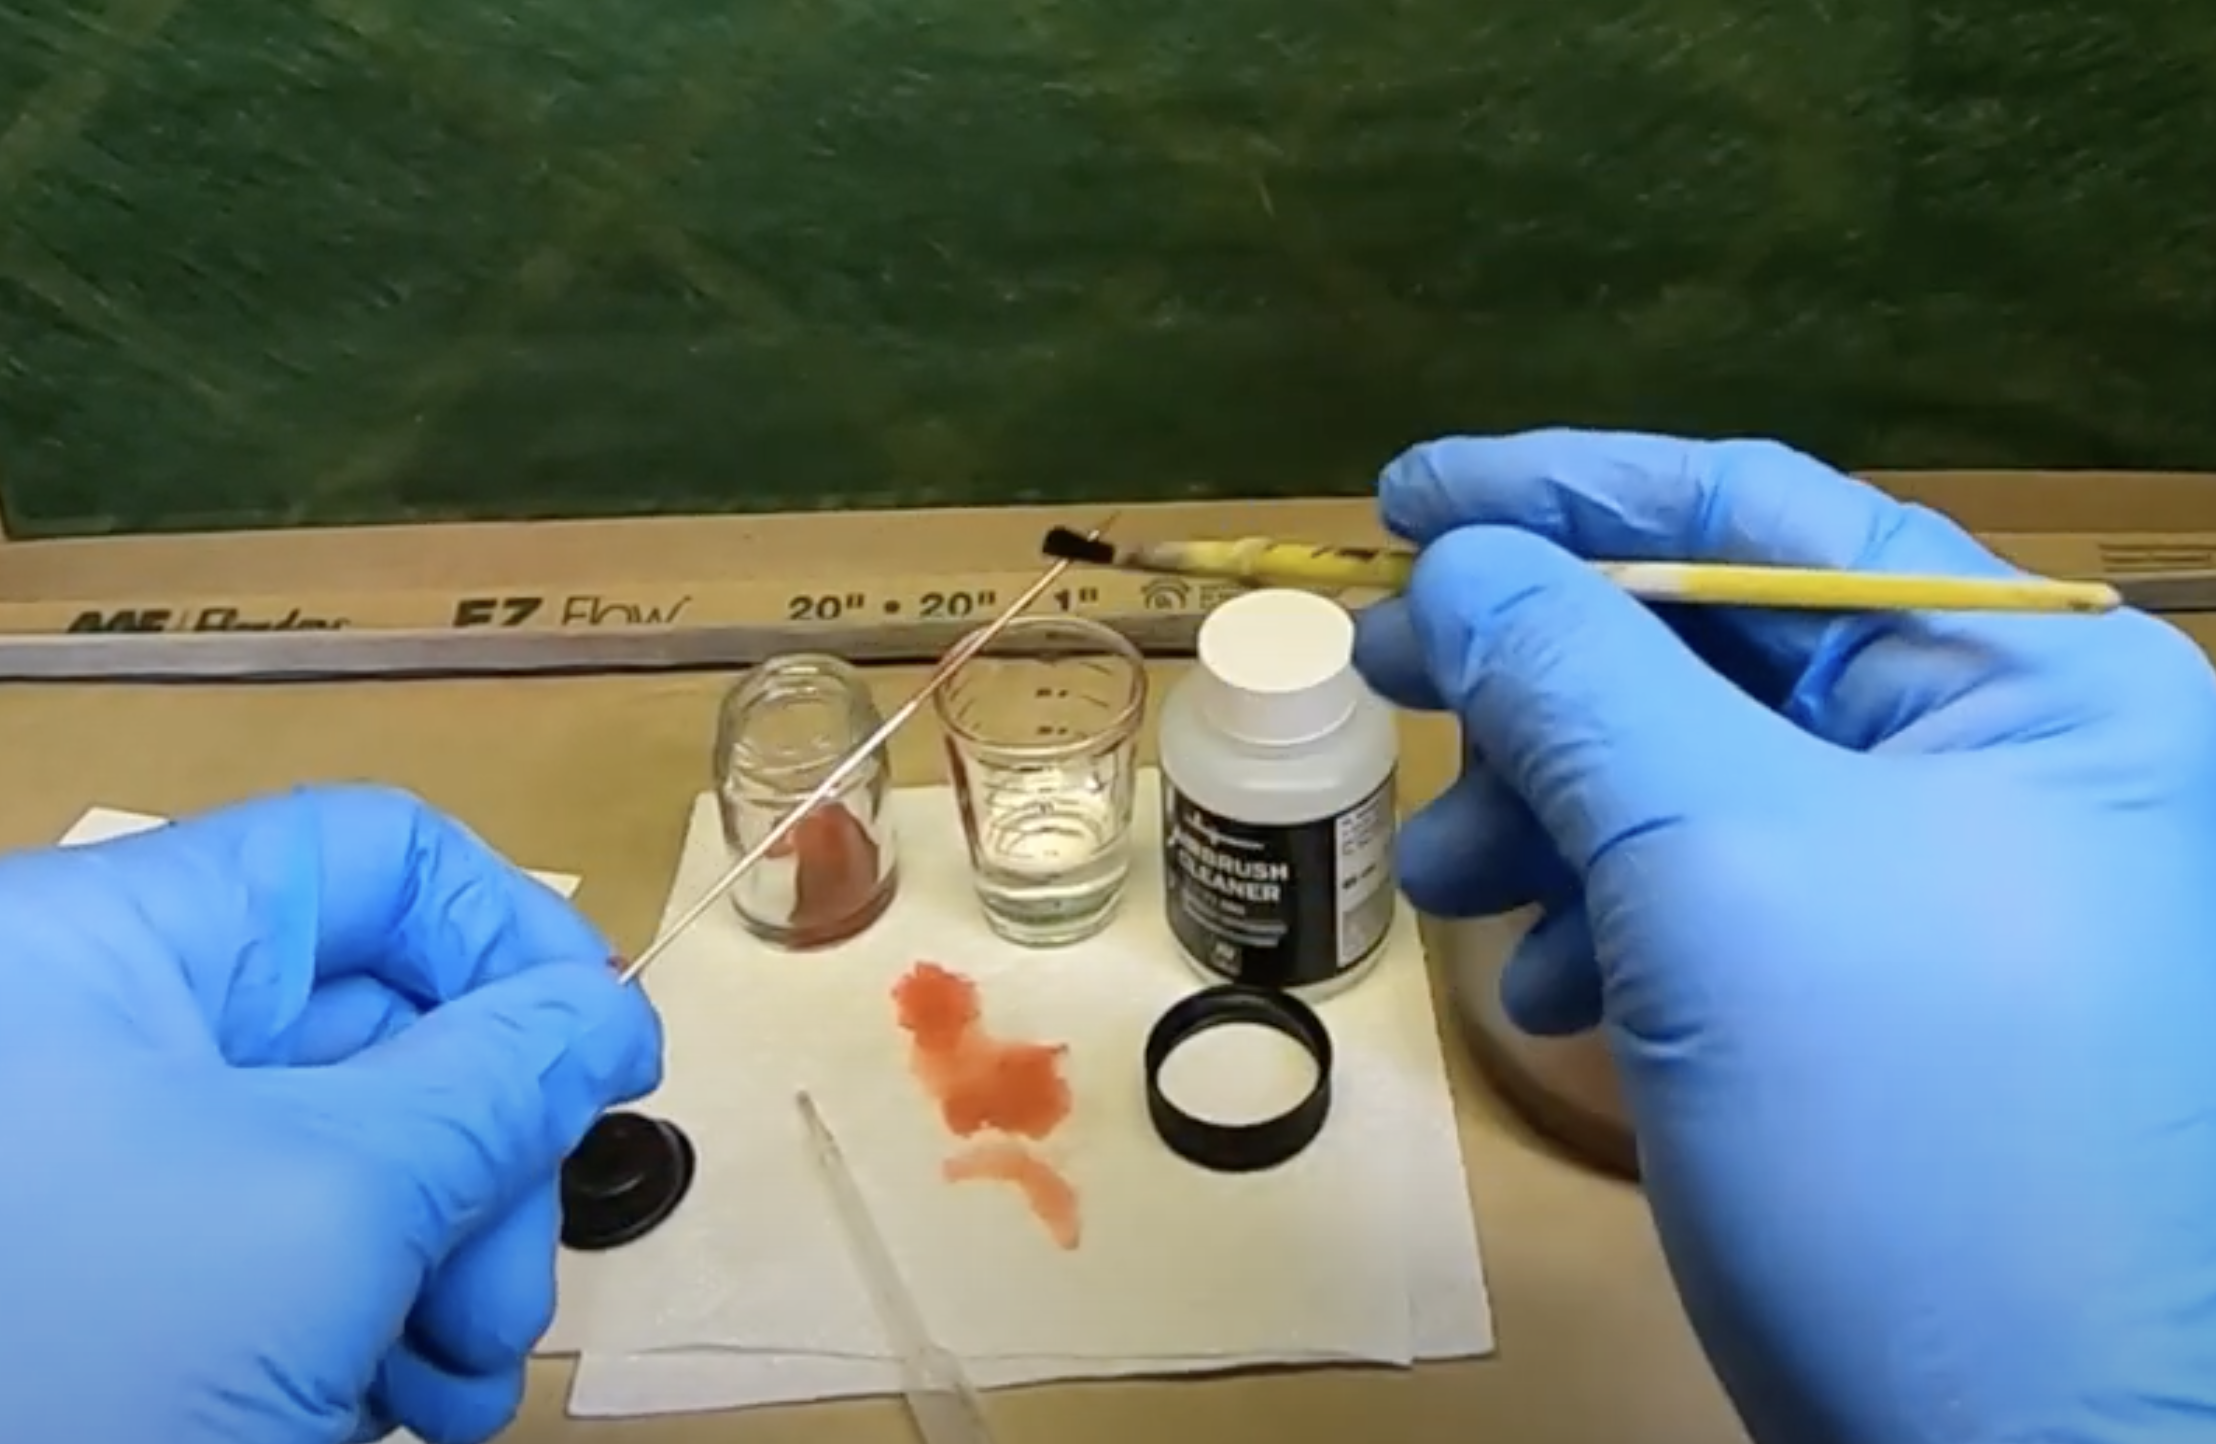
Understanding your airbrush internals is vital for effective cleaning. Disassembling it involves removing the handle, the needle, and the nozzle head. Utilizing tiny nylon brushes helps clean out the paint residue in tight spots that spraying thinner can't reach. Using a spray booth helps contain cleaning vapors, ensuring a cleaner workspace.
When should I clean my airbrush?
In-between color changes
At the end of a painting session
Spray thinner/cleaner through your airbrush onto a paper towel or other disposable surface to clean out the nozzle and other internal parts. Continue doing this until the spray comes out completely clean. Once that is done, disassemble your airbrush completely and examine all parts of it. Clean each part individually using a combination of thinner/cleaner, paintbrushes, paper towels, cotton swabs, etc. Once all parts are clean and dry, re-assemble your airbrush and store in its case.
Always use appropriate solvents and brushes to ensure top performance of your airbrush. Regular maintenance will help prolong the life of the airbrush.
Mastering the art of airbrushing involves a combination of understanding the fundamentals, choosing the right tools, and practicing various techniques. Whether you're a hobbyist or a seasoned artist, this comprehensive guide aims to equip you with the knowledge and skills needed to unleash your creativity through the power of airbrushing.


