How to do Color Modulation on a Plastic Model Kit
Posted by MegaHobby.com on Mar 28th 2025

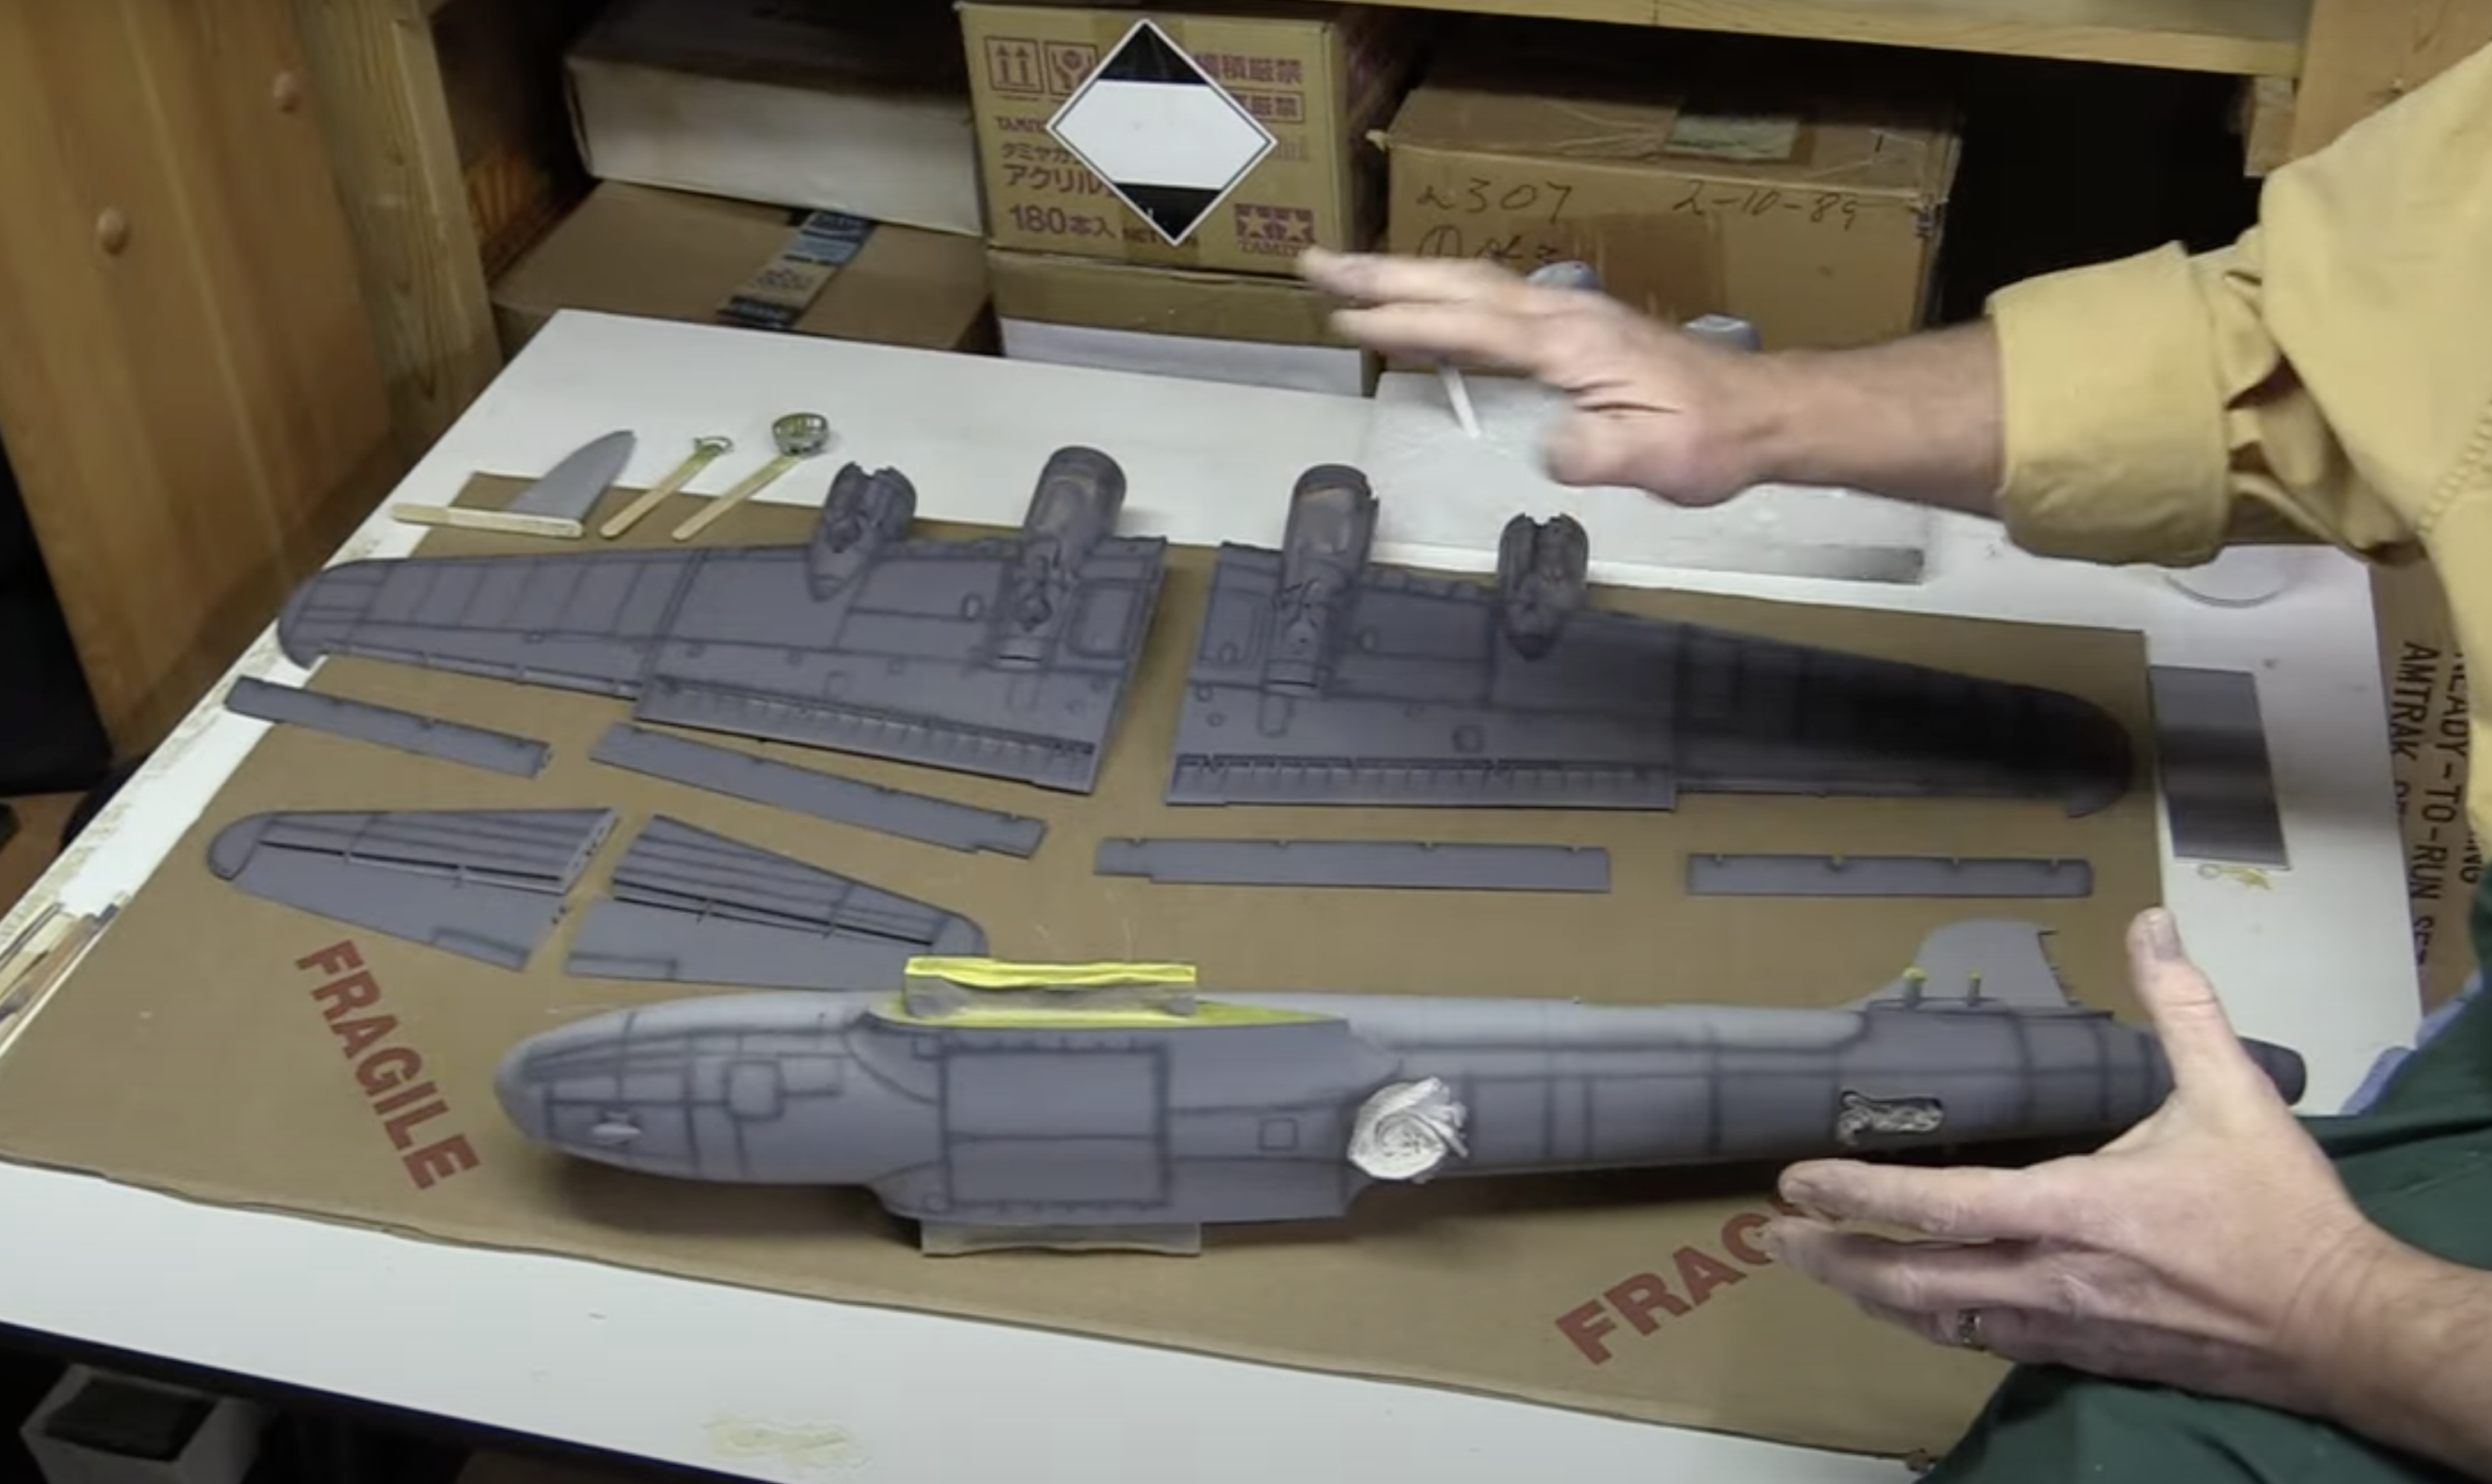
After applying gray to the underside of the fuselage and wings and prepping for the next steps, it's time for color modulation. This technique involves adding highlights and shadows to achieve a three-dimensional effect.
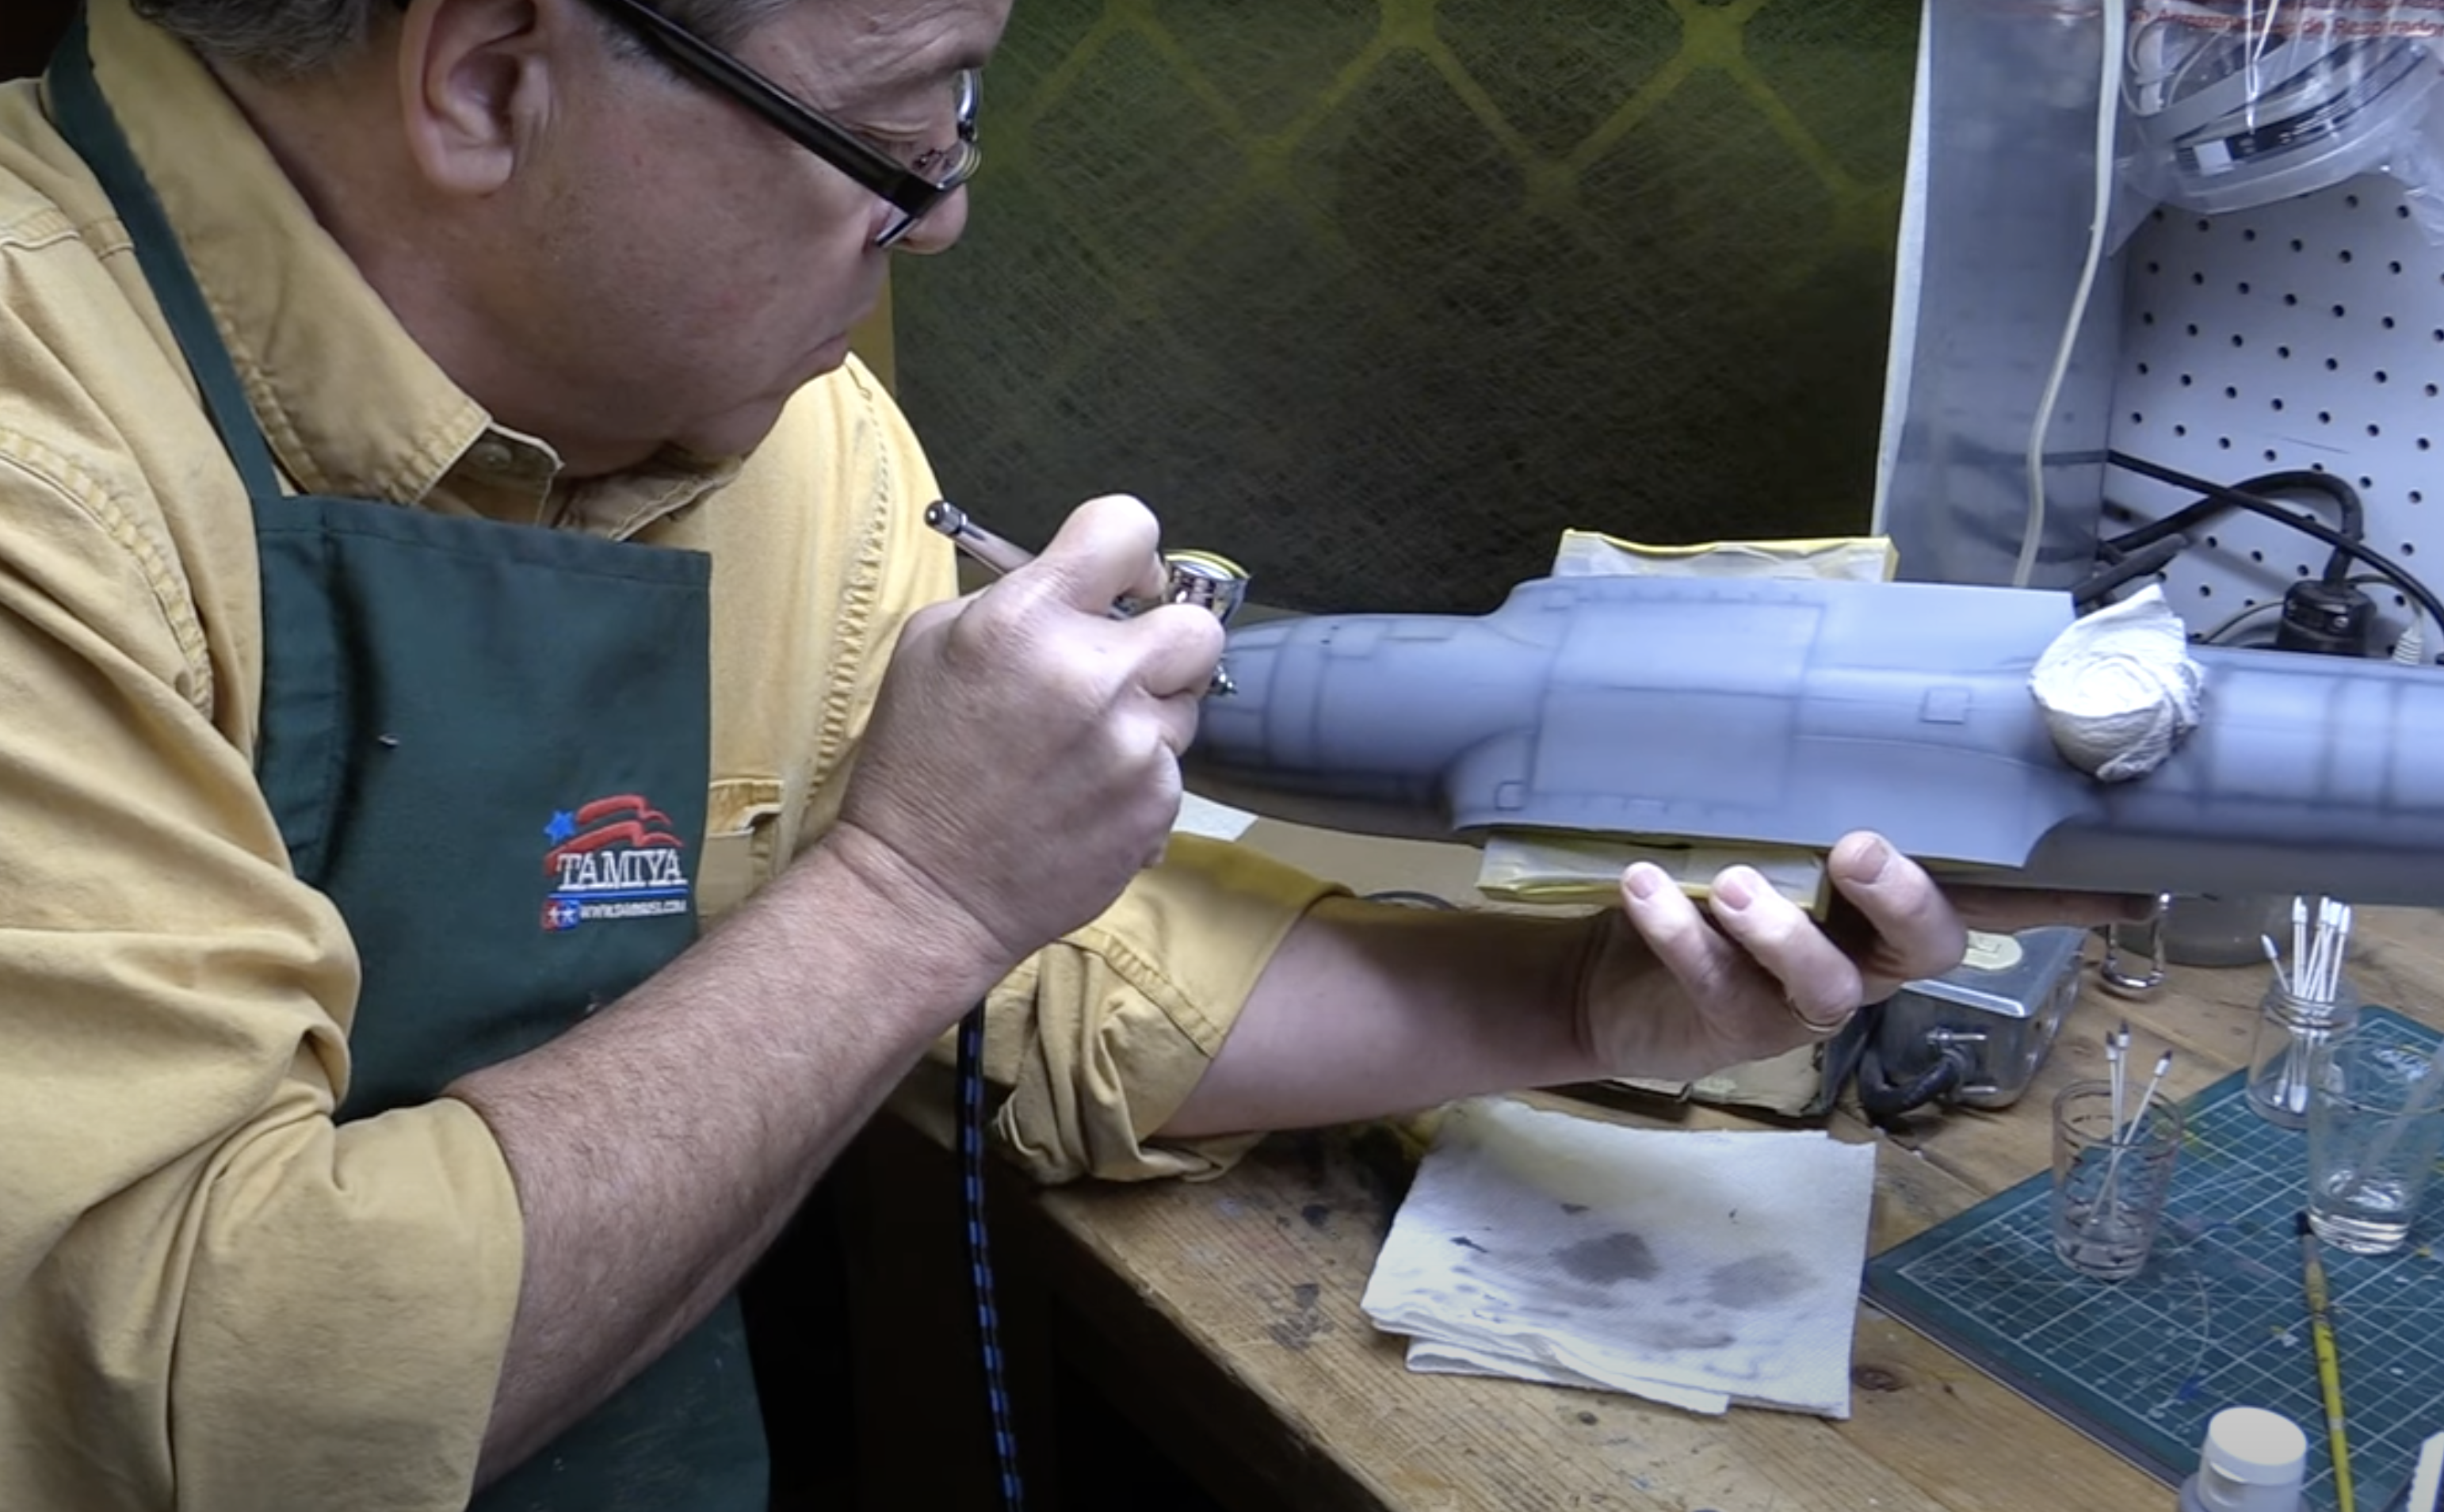
To create shadows, a mix of 50% anthracite gray and the original gray will be airbrushed on the panel lines and hatch lines. This shadowing technique brings out the depth by emphasizing where the panels are located.
Using the Badger Sotar 2020 airbrush, the application of dark shades begins. After spraying, cleaning up with the base gray color ensures a refined and polished look, maintaining the model's realism.
Introducing highlights with a lighter shade by incorporating white into the gray allows for the delicate enhancement of broad areas. Your emphasis on precision during this step is crucial; it's vital to strike a balance to avoid an artificial appearance while achieving a natural, light-catching effect.

Masking off areas like deicer boots with Tamiya's innovative masking tape (TAM87203) combined with plastic sheeting will create even greater precision and efficiency in the painting process. This meticulousness in masking ensures that the subsequent painting of the black sections and the application of semi-gloss clear on the entire aircraft are executed with accuracy.
The impending addition of decals is an exciting stage in the model-building process. Decals play a significant role in adding authenticity and character to the model, further enhancing its resemblance to the real B-17 aircraft.
Your detailed approach and attention to each phase of the painting process demonstrate the dedication and skill required for model building. The transformation of this B-17 model is undoubtedly an intricate and fascinating journey, and we’re eager to see the final steps unfold!

