How to Paint a Plastic Model Kit
Posted by MegaHobby.com on Jul 30th 2024

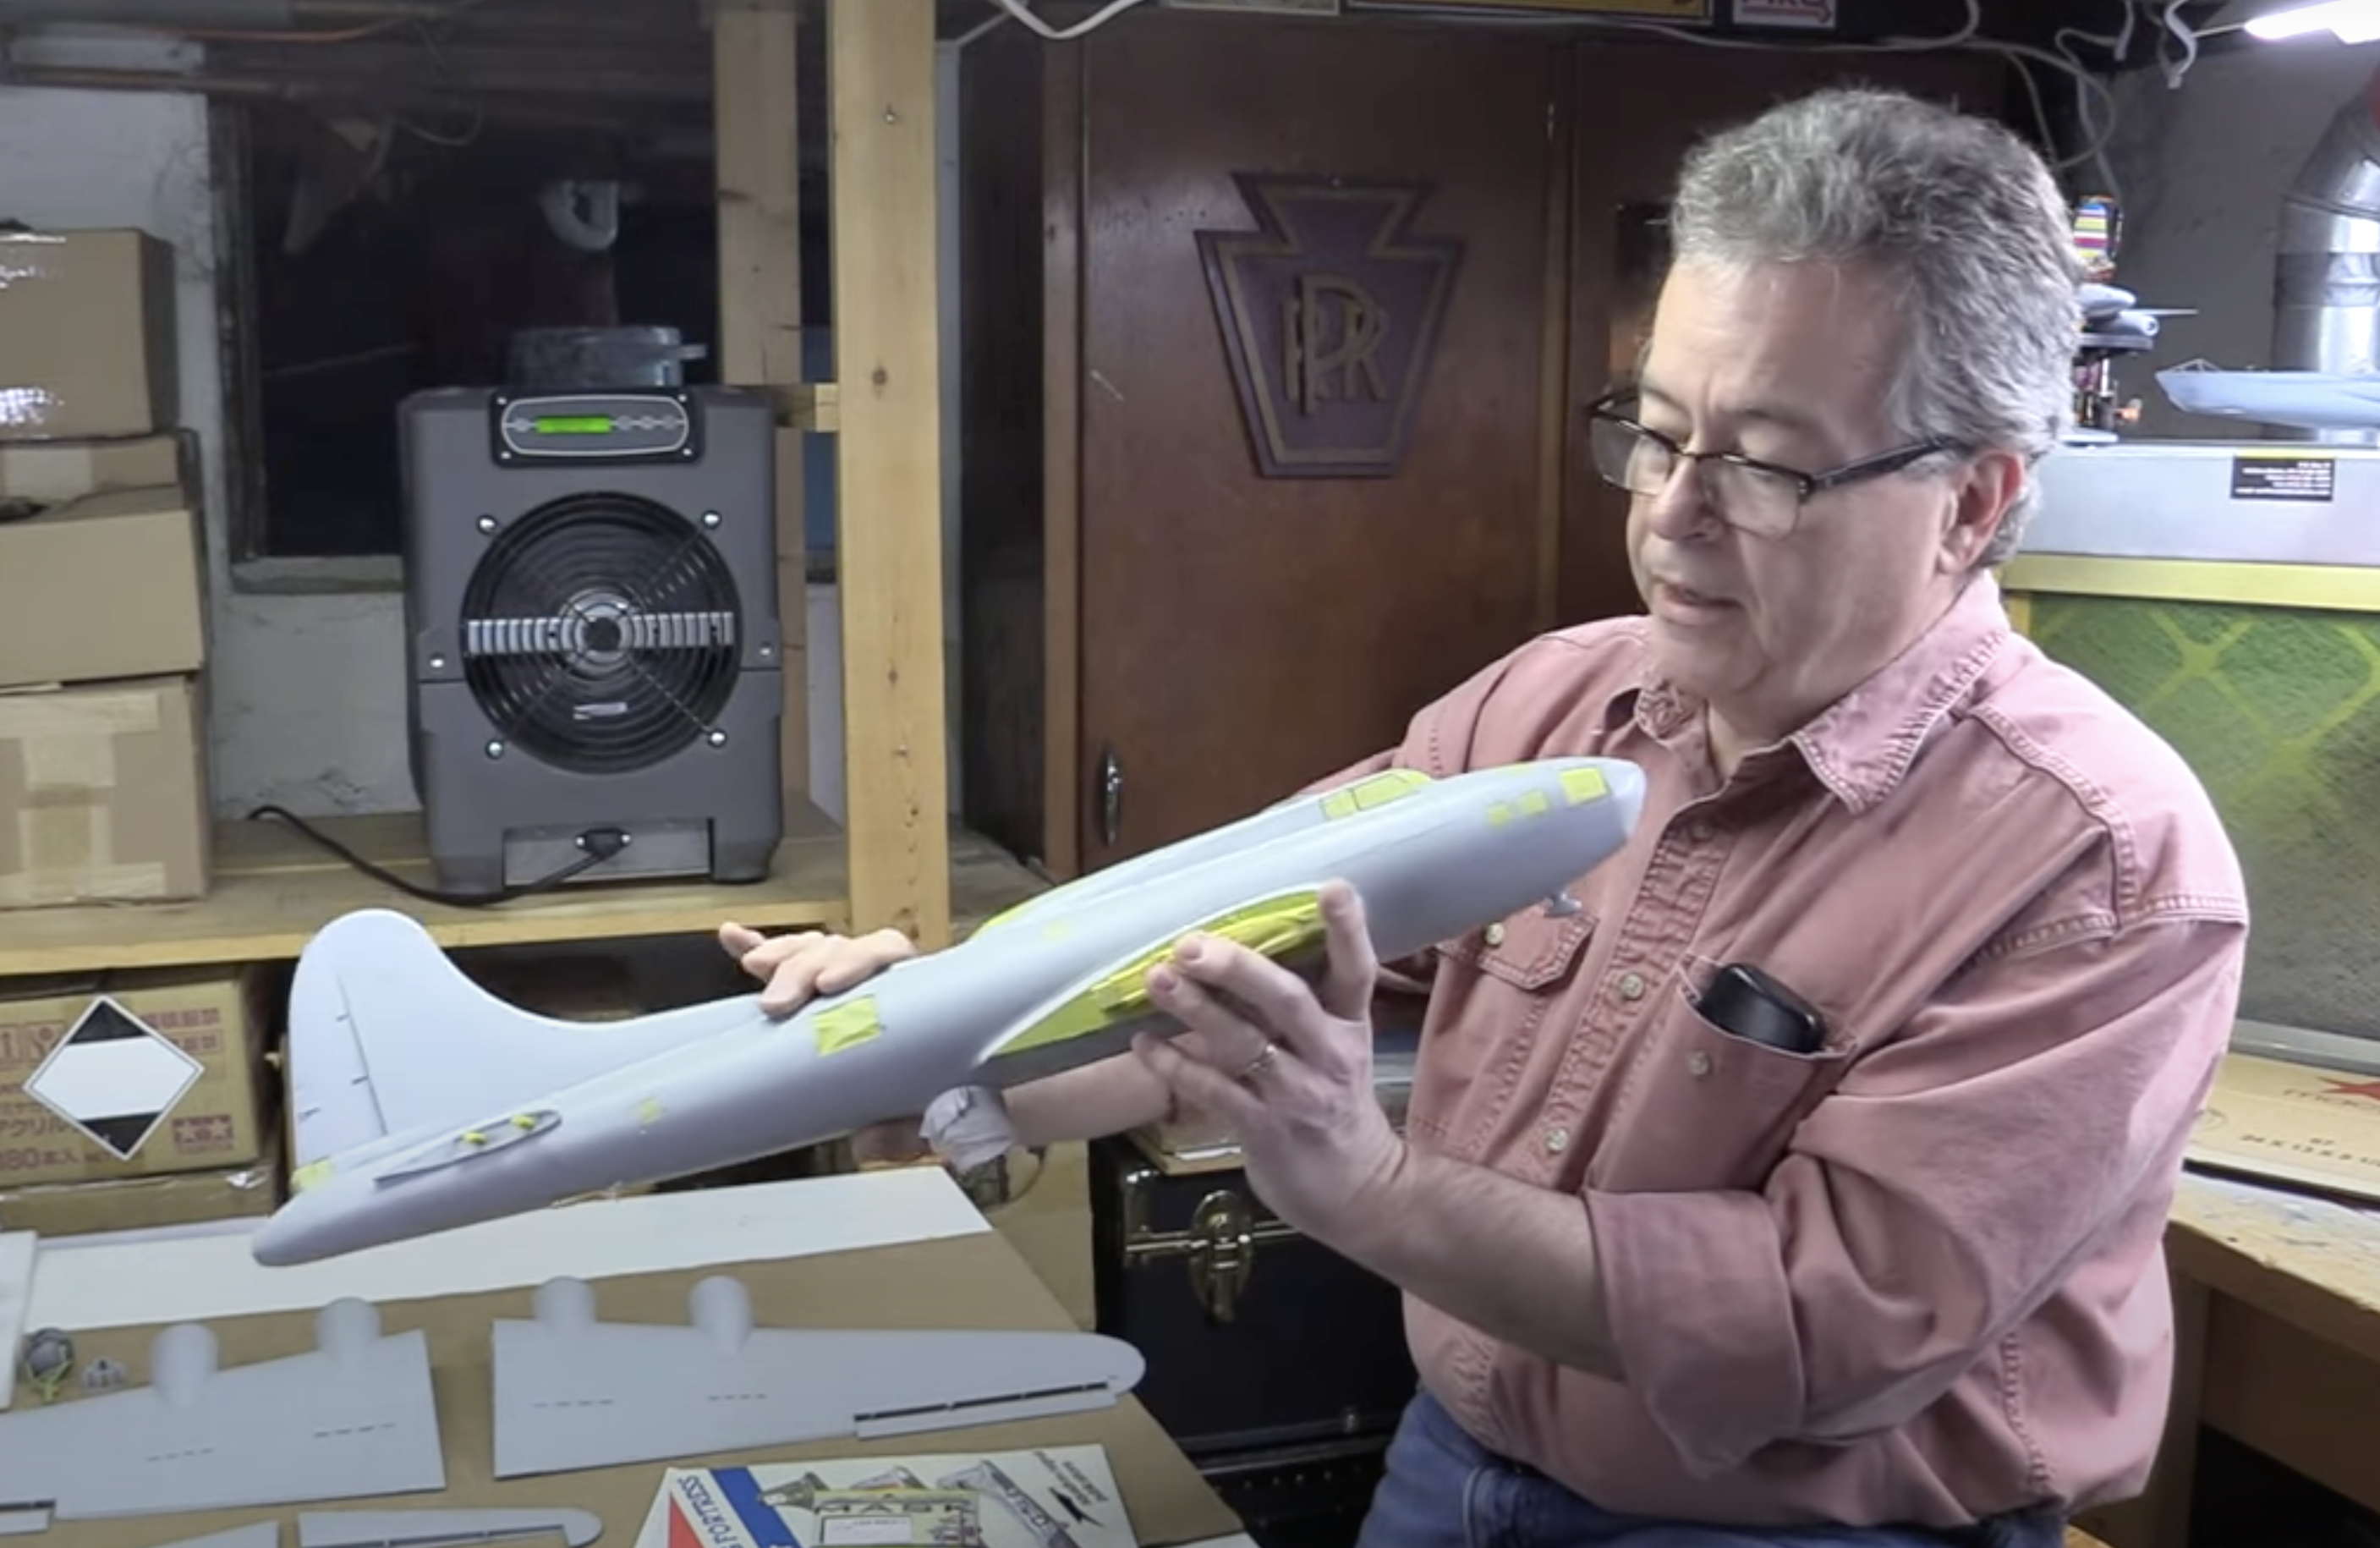
Welcome to the much-anticipated painting phase! After meticulous prep work, including precise masking and careful placement of Eduard masks on all window surfaces, our B-17 is primed and set for the grand paint job.
Eduard masks are indeed remarkable, offering precise pre-cut designs that perfectly fit windows. Using these masks streamlined the process and ensured accurate coverage without any paint seepage. To learn more about using masks, check out our article on the topic here. (LINK)
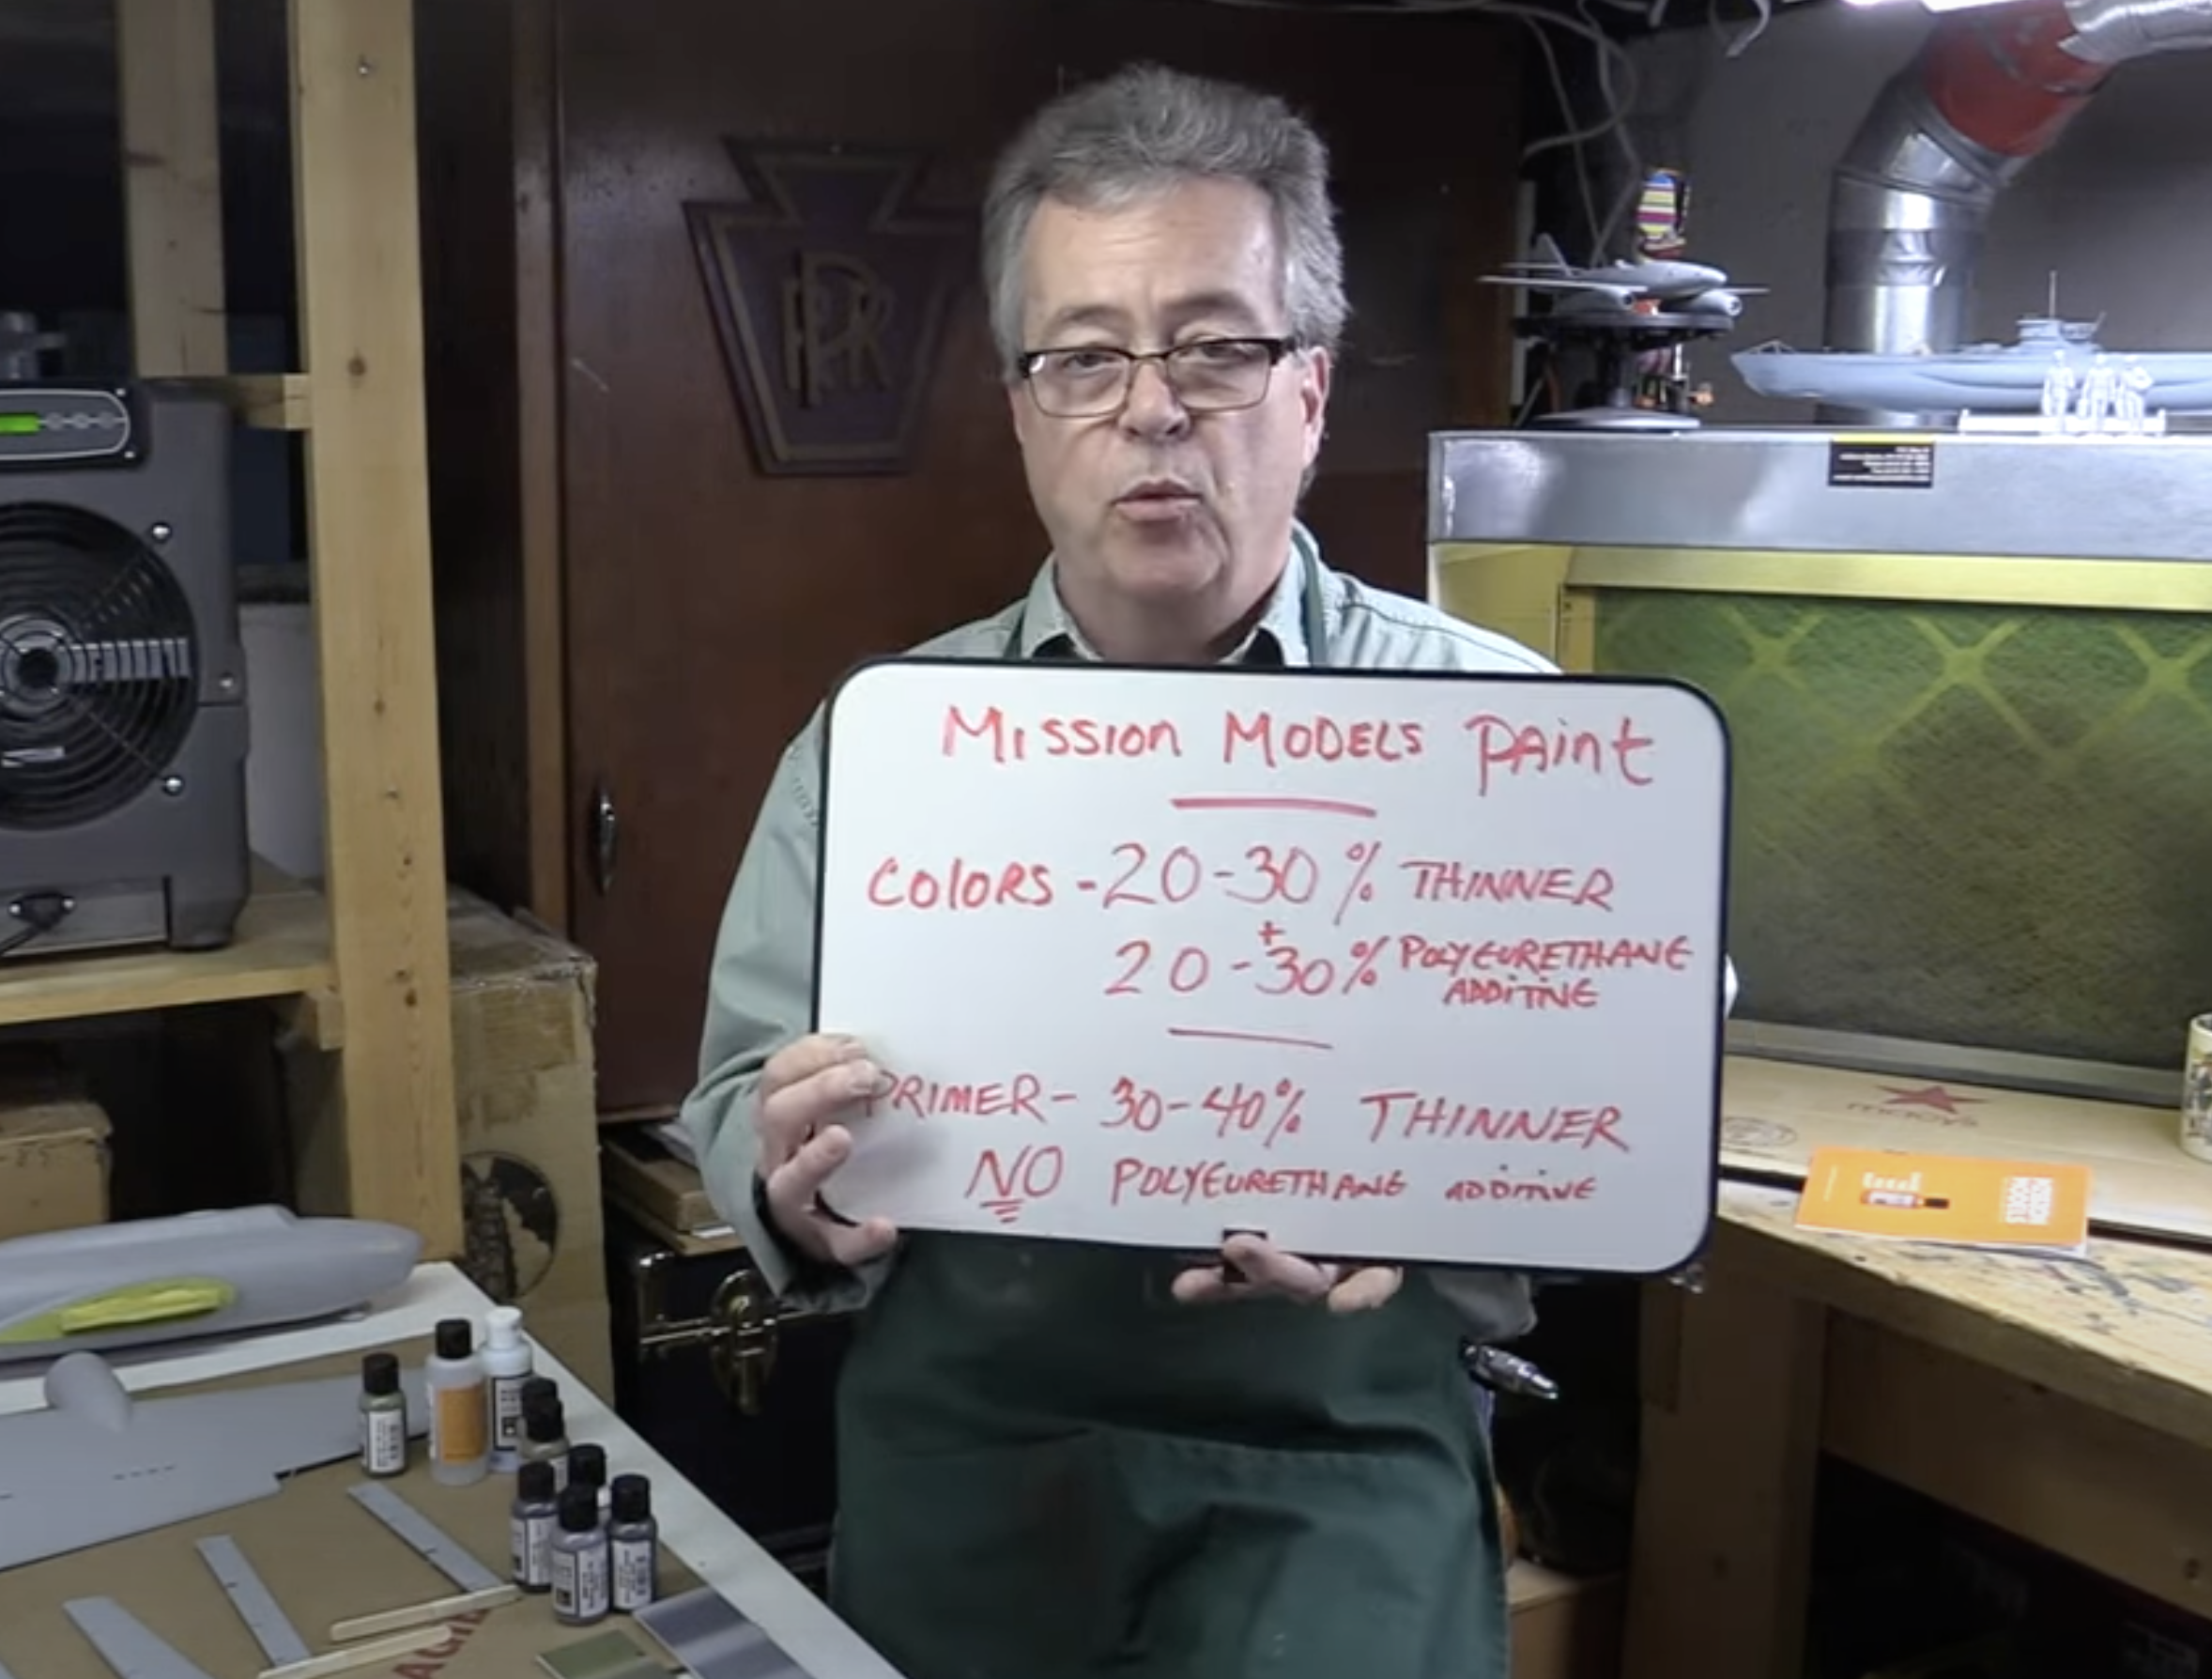
With everything prepped, it's time to delve into Mission Model Paints – a fantastic line of water-based acrylics renowned for their color accuracy. When using these paints, adhering to their specific instructions is crucial. For instance, the primer requires a mix solely with their thinner, whereas colors demand a blend with both thinner and polyurethane hardener for swift drying and a robust finish.

For the base colors, we've opted for medium gray (MMP118) for the neutral gray underside and olive drab faded number one (MMP020) for the base olive drab color. Creating variations of gray by adding white and anthracite gray and using different shades of olive drab enables a technique called color modulation. This technique adds shadows and highlights, lending a three-dimensional effect to the paint job.
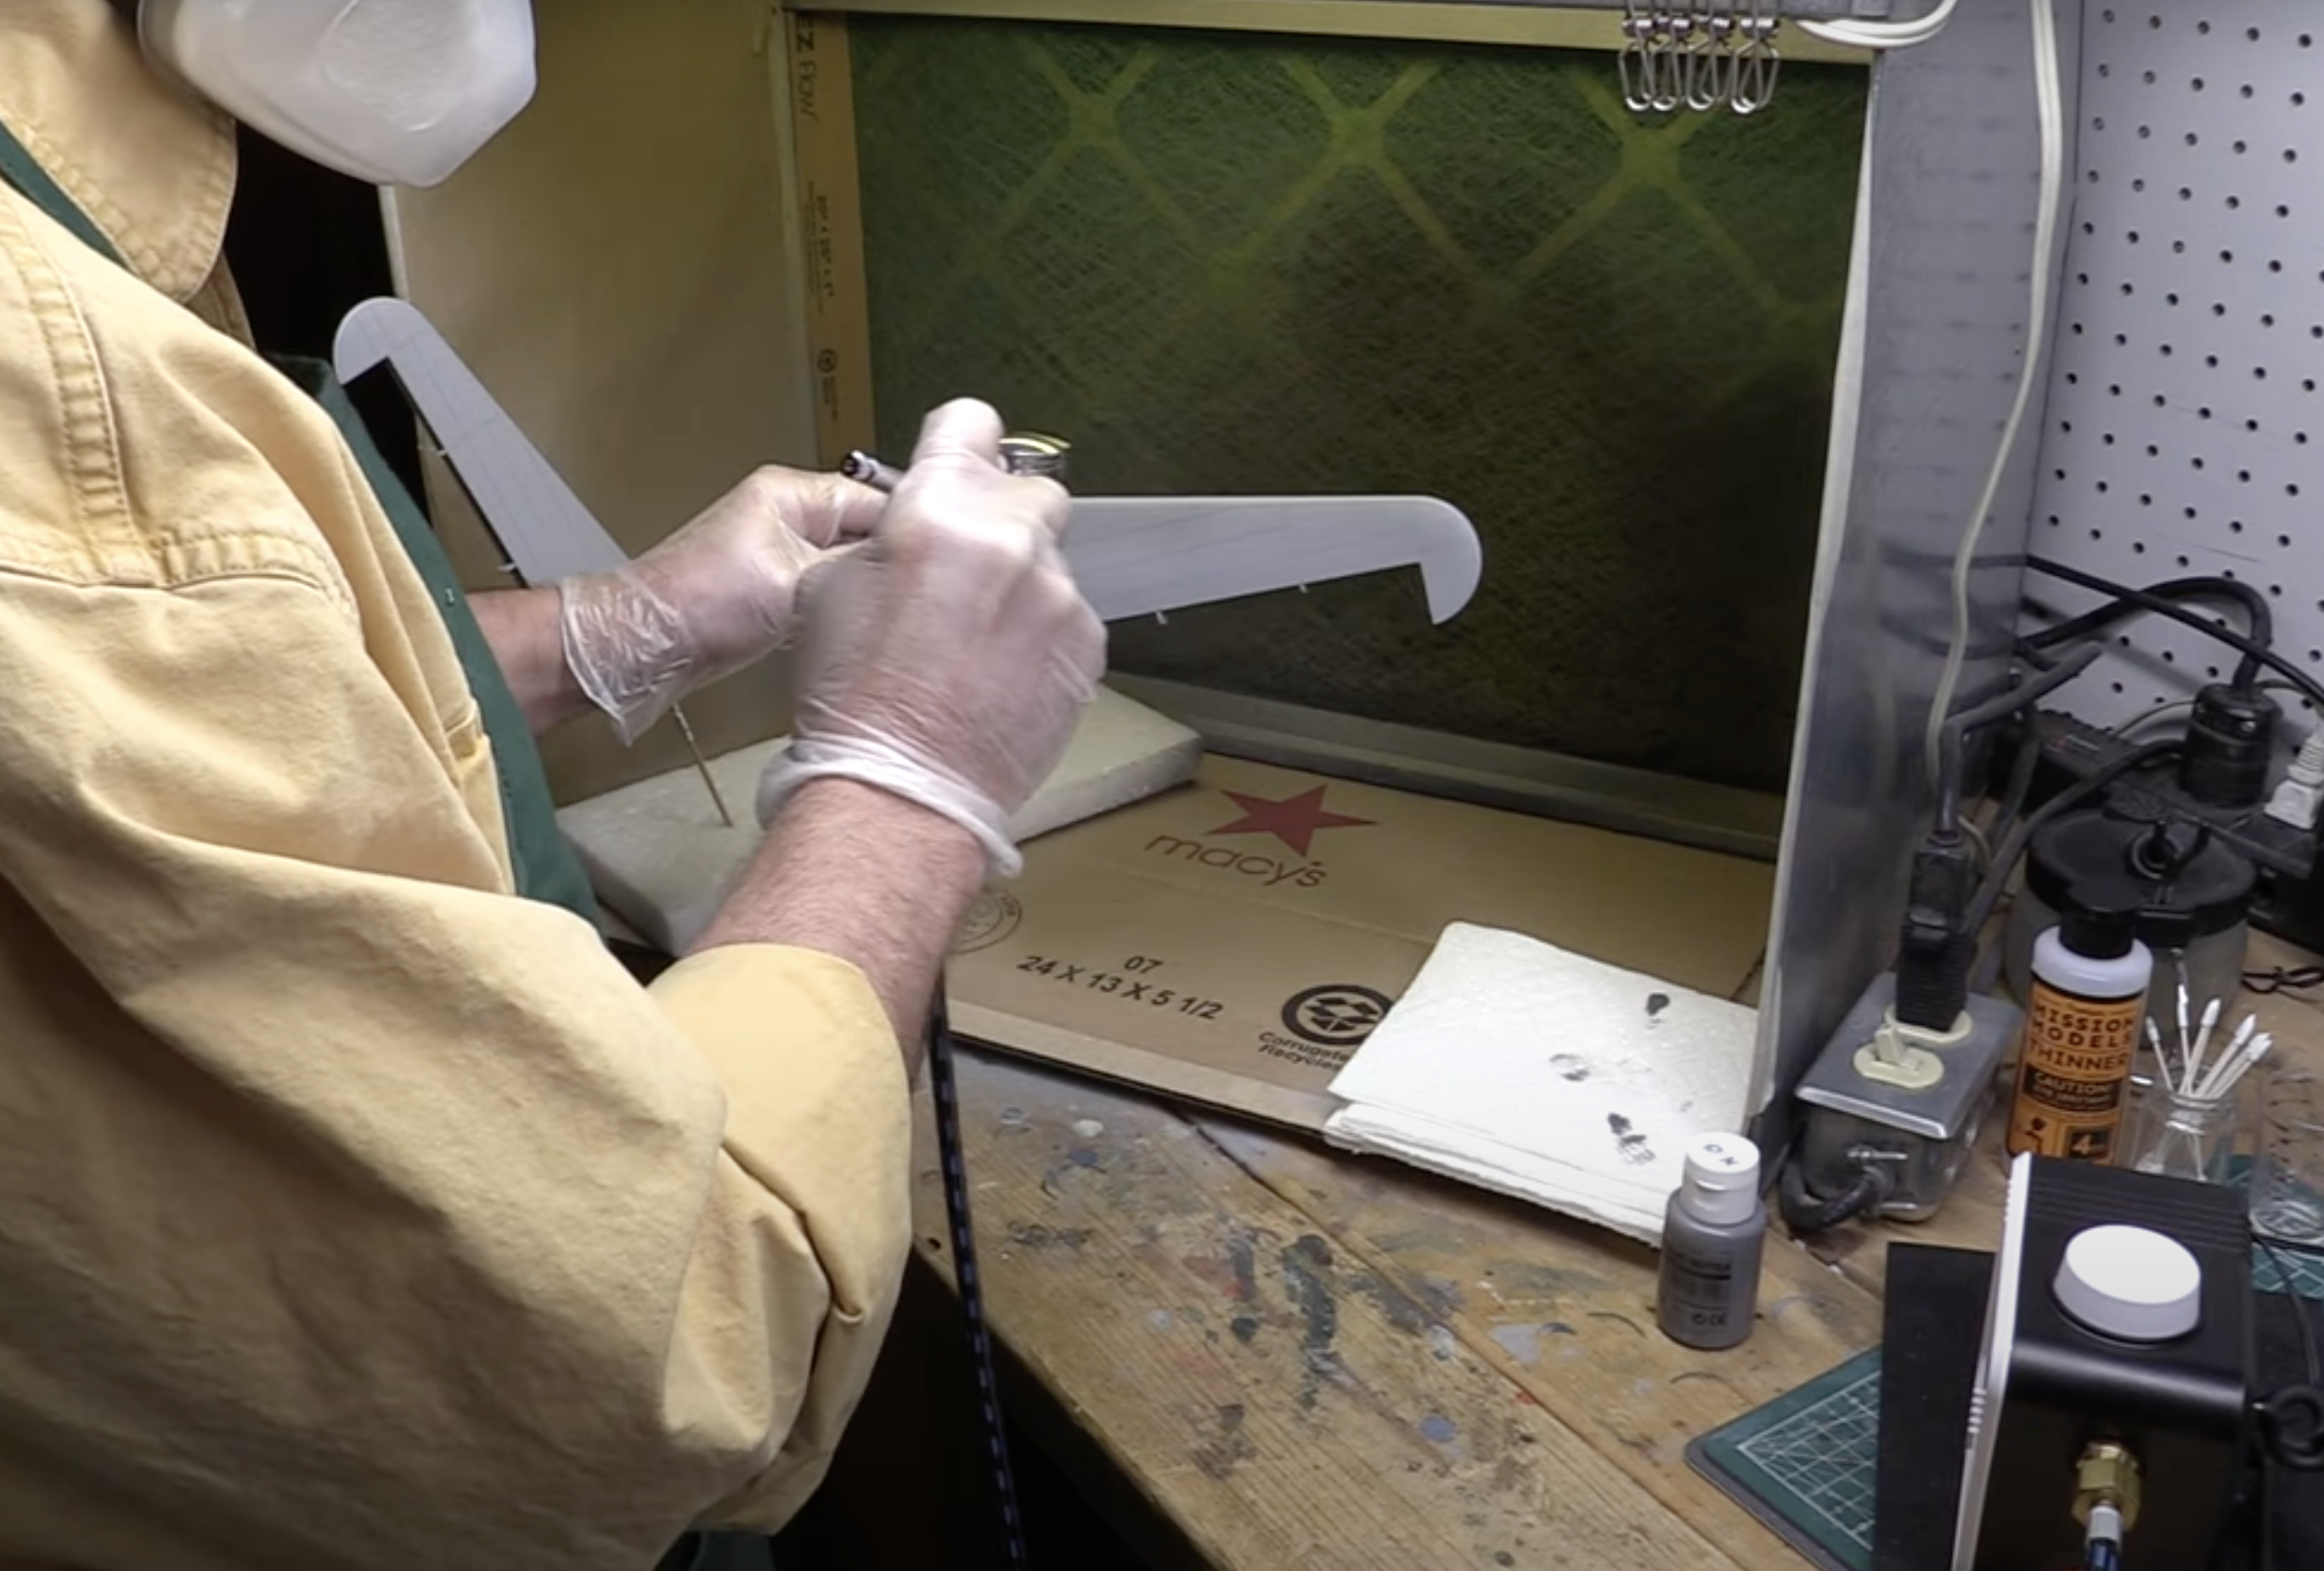
Beginning with the undersides, we apply the medium gray for the neutral tone, followed by color modulation techniques to achieve depth and realism. Utilizing the Tamiya Spray Works air compressor and Sparmax air gun, we ensure precise mixing of paints and safety precautions before diving into the painting process.
Painting your model kit, especially one this large, is a very tedious, yet rewarding skill. It takes patience, preparation, and persistence to ensure you get it just right. Remember that practice makes perfect!

