How to Prime a Plastic Model Kit for Painting
Posted by MegaHobby.com on Nov 25th 2024
The B-17 has reached a crucial stage—all set for the primer. Every open space is meticulously sealed to prevent any primer from seeping through. The primer plays a vital role, preparing the surface to embrace the chosen paint. For this project, we've opted for Mission Models Paints, renowned for their historical accuracy in aircraft colors.
We’re using the Mission Models primer, a reliable gray primer that sets the stage for the subsequent paint layers. Mixing it with the Mission Models thinner ensures a smooth application. A tip for model enthusiasts: always go for the manufacturer's recommended thinner; it ensures optimal mixing, application, and drying.
For the painting process, the Mission Models olive drab and medium gray will bring this aircraft to life. Their paints require careful mixing as per the specified ratios mentioned in their guidelines. This attention to detail guarantees the right consistency and durability for the paint.
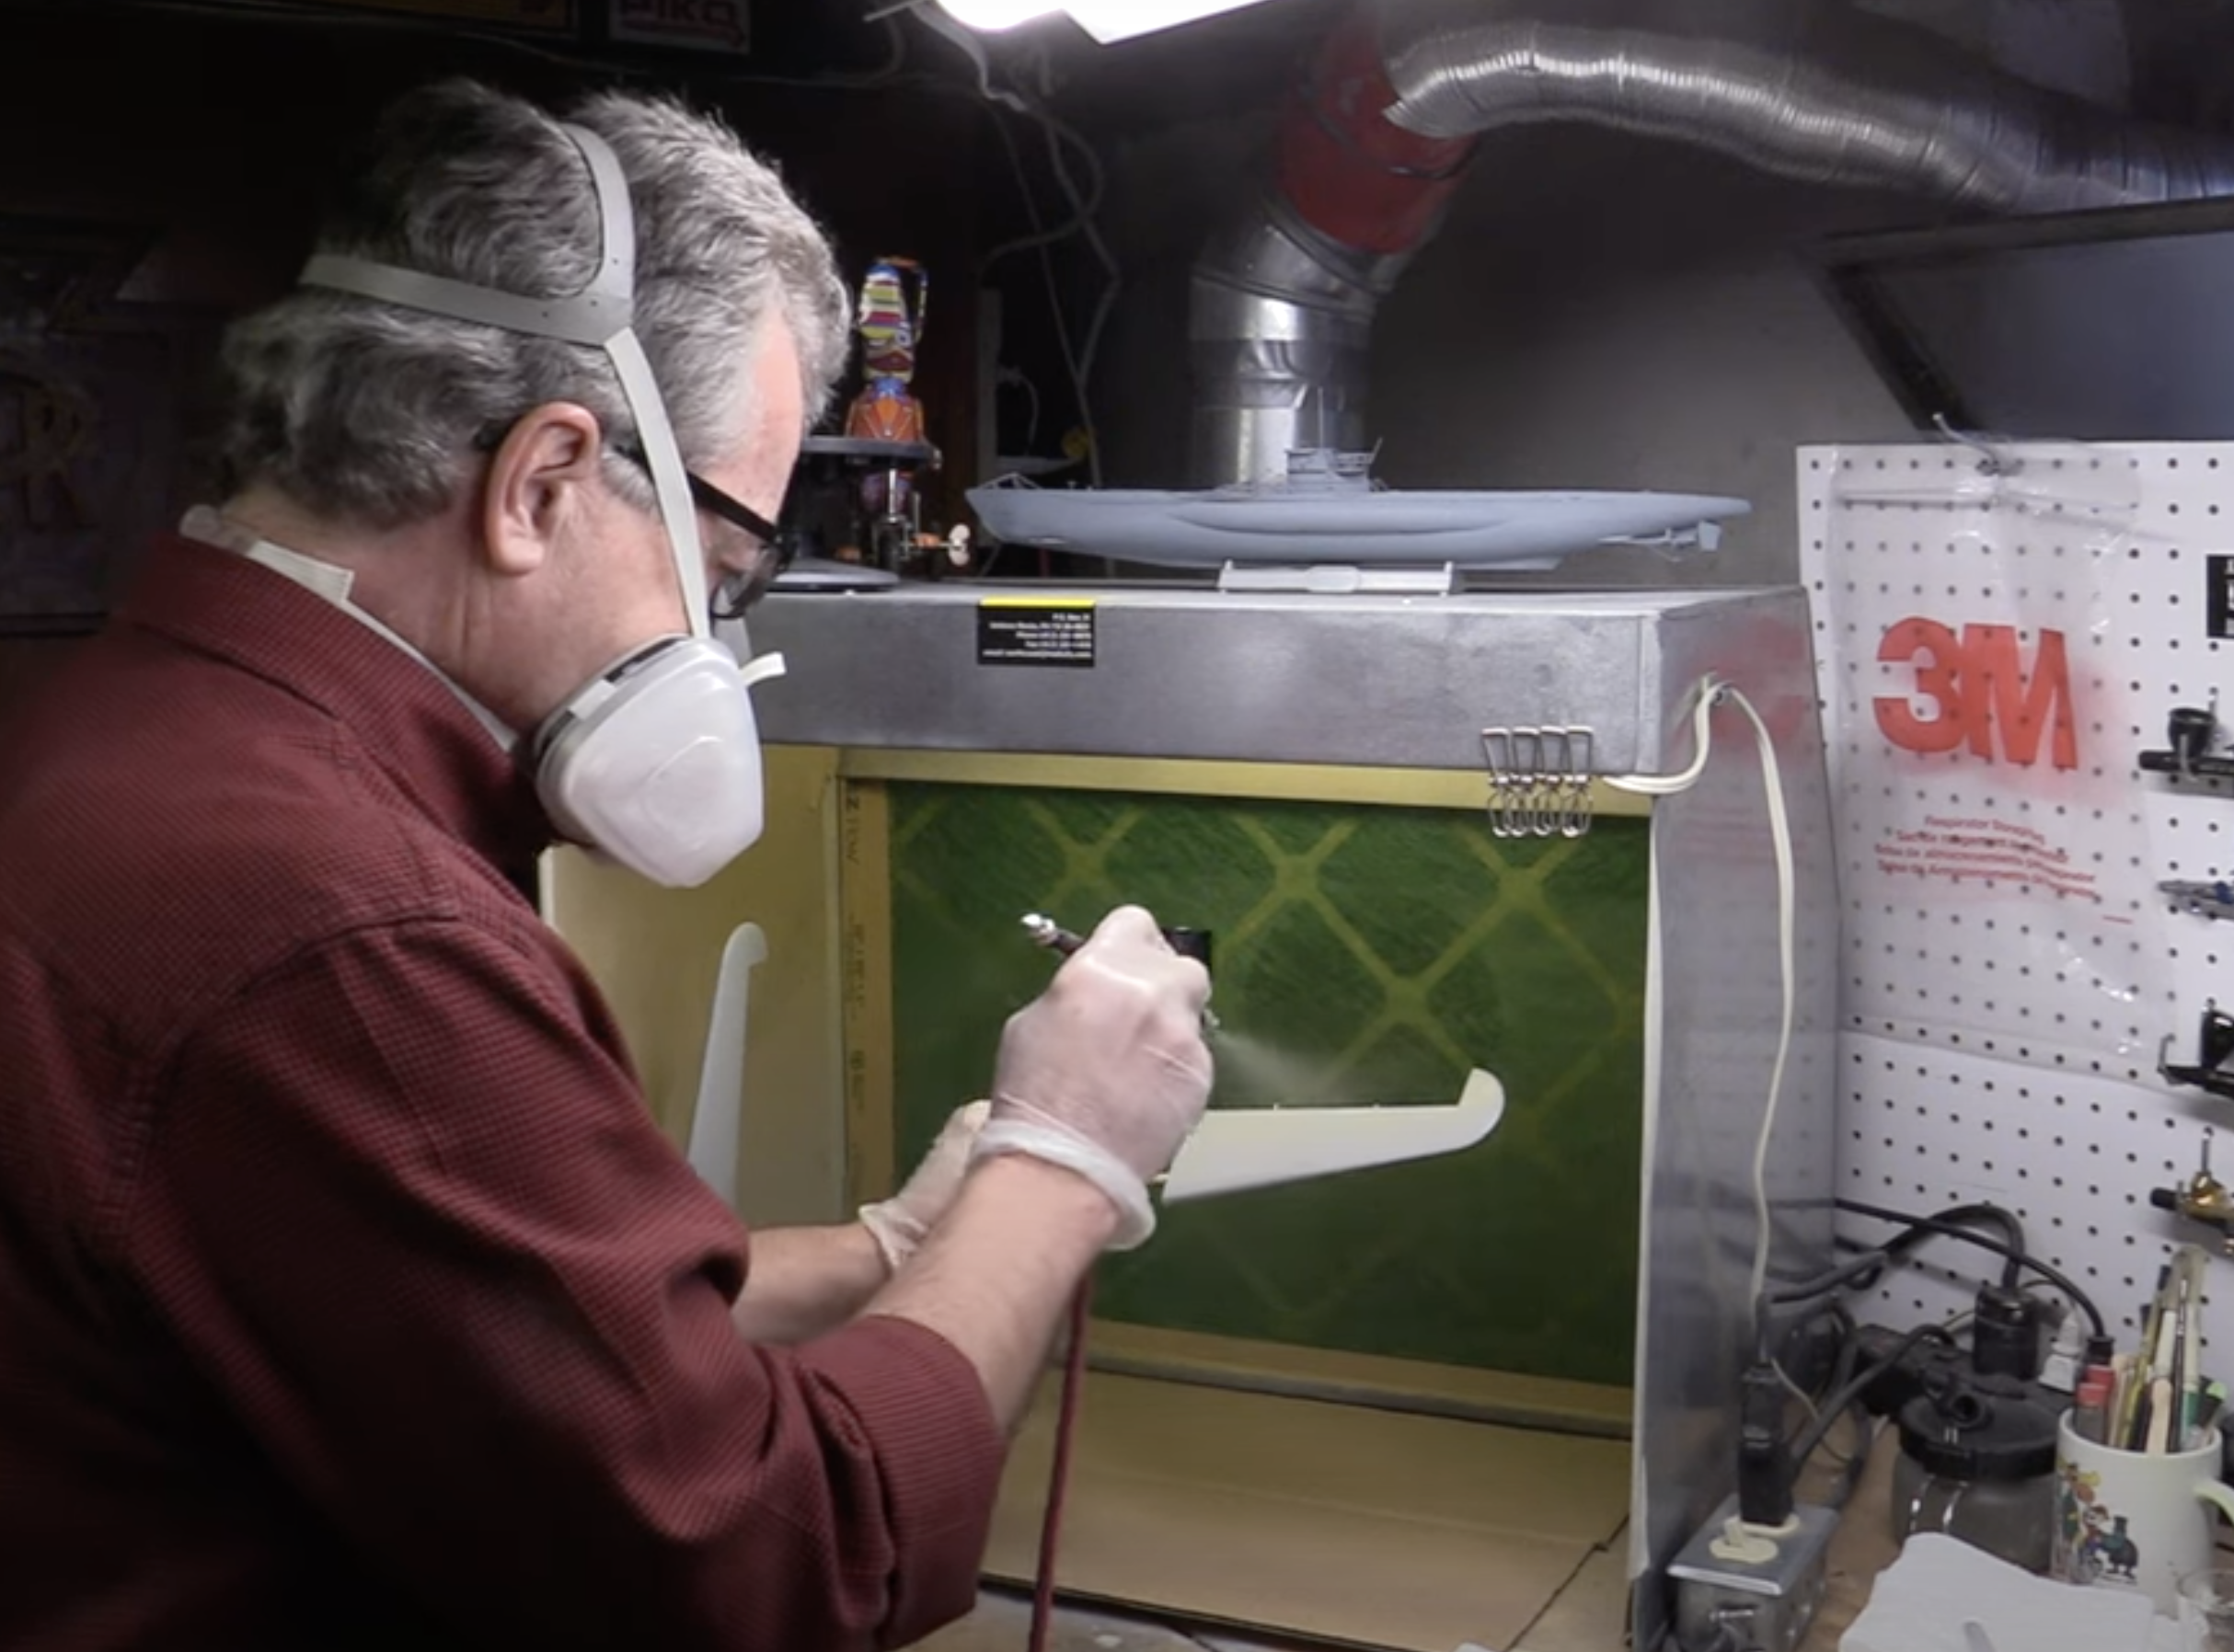
Equipped with a Paasche Vision airbrush—a favorite for larger models—we’re ready to test the primer on smaller parts like the ailerons and the rudder before proceeding to the main components. Safety comes first, so be sure to don your respirator mask and gloves for this painting process.
Spraying in a well-ventilated area is essential to avoid inhaling fumes. The booth is prepped, the paint is mixed, and we’re set to test the primer on these smaller parts before applying it to the major components.
After successfully priming all the major parts, our next task involves inspecting areas filled with putty. Any touch-ups needed will be addressed before the final coat of primer. This meticulous approach ensures a smooth transition to the much-awaited painting stage.
The journey continues as we gear up to add colors to this beautiful B-17.

