How to Use Photo-Etch on a Plastic Model Kit
Posted by MegaHobby.com on Nov 1st 2024

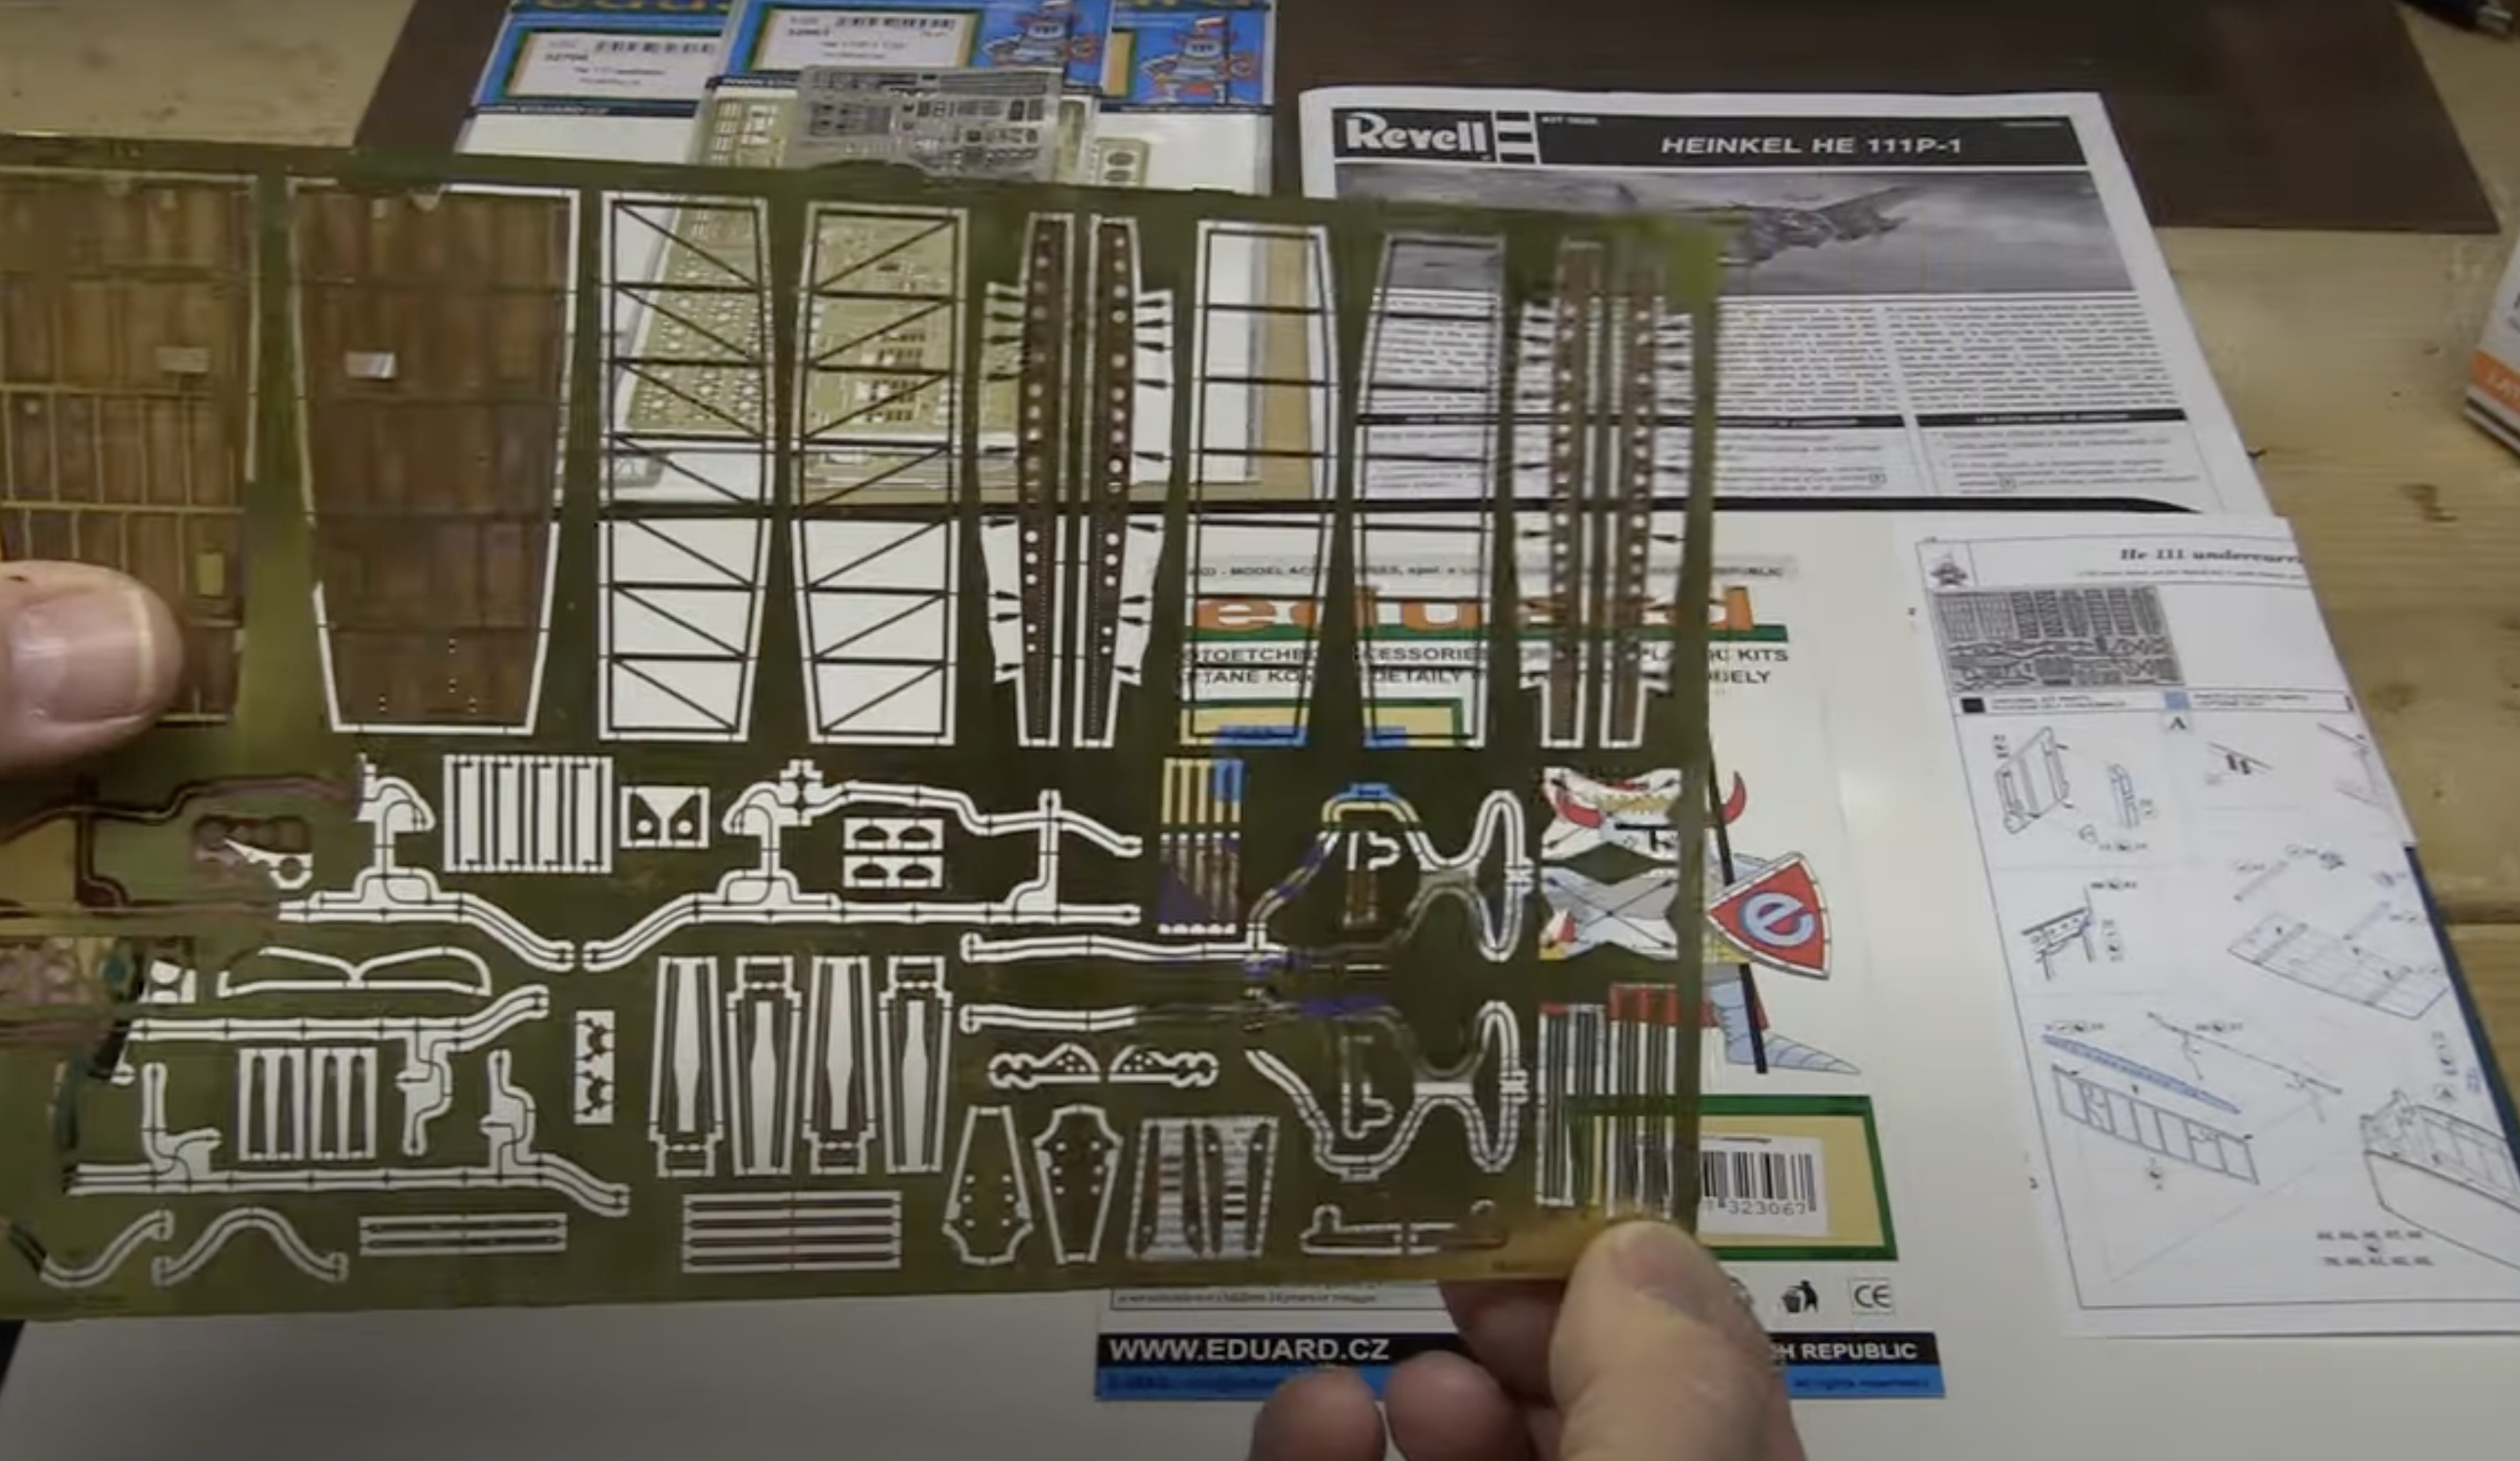
Photo etching, the process used to craft these parts, involves covering a metal sheet with a photo-resistant material, adding a negative of the parts, and using UV light to remove unneeded areas. A developing process then removes excess material, leaving detailed parts impossible to replicate through injection molding.
Detailing parts are often referred to as aftermarket parts and are designed by companies to enhance the detail and quality of existing scale model kits. In our exploration today, we'll focus particularly on photo-etch and resin detailing parts, delving into the tools required and their practical application.
Choosing a subject model is crucial. For instance, for our model kit, we have identified several aftermarket manufacturers—Eduard, Aires, Quickboost, and Aerobonus—offering accessories to complement this model. From Eduard, we found a cockpit, exterior, seat belt, and undercarriage detailing sets. Aires provided resin and brass photo-etch armament parts, Quickboost offered accurate engine exhaust stacks. Sometimes, kits come complete with these detailing parts.

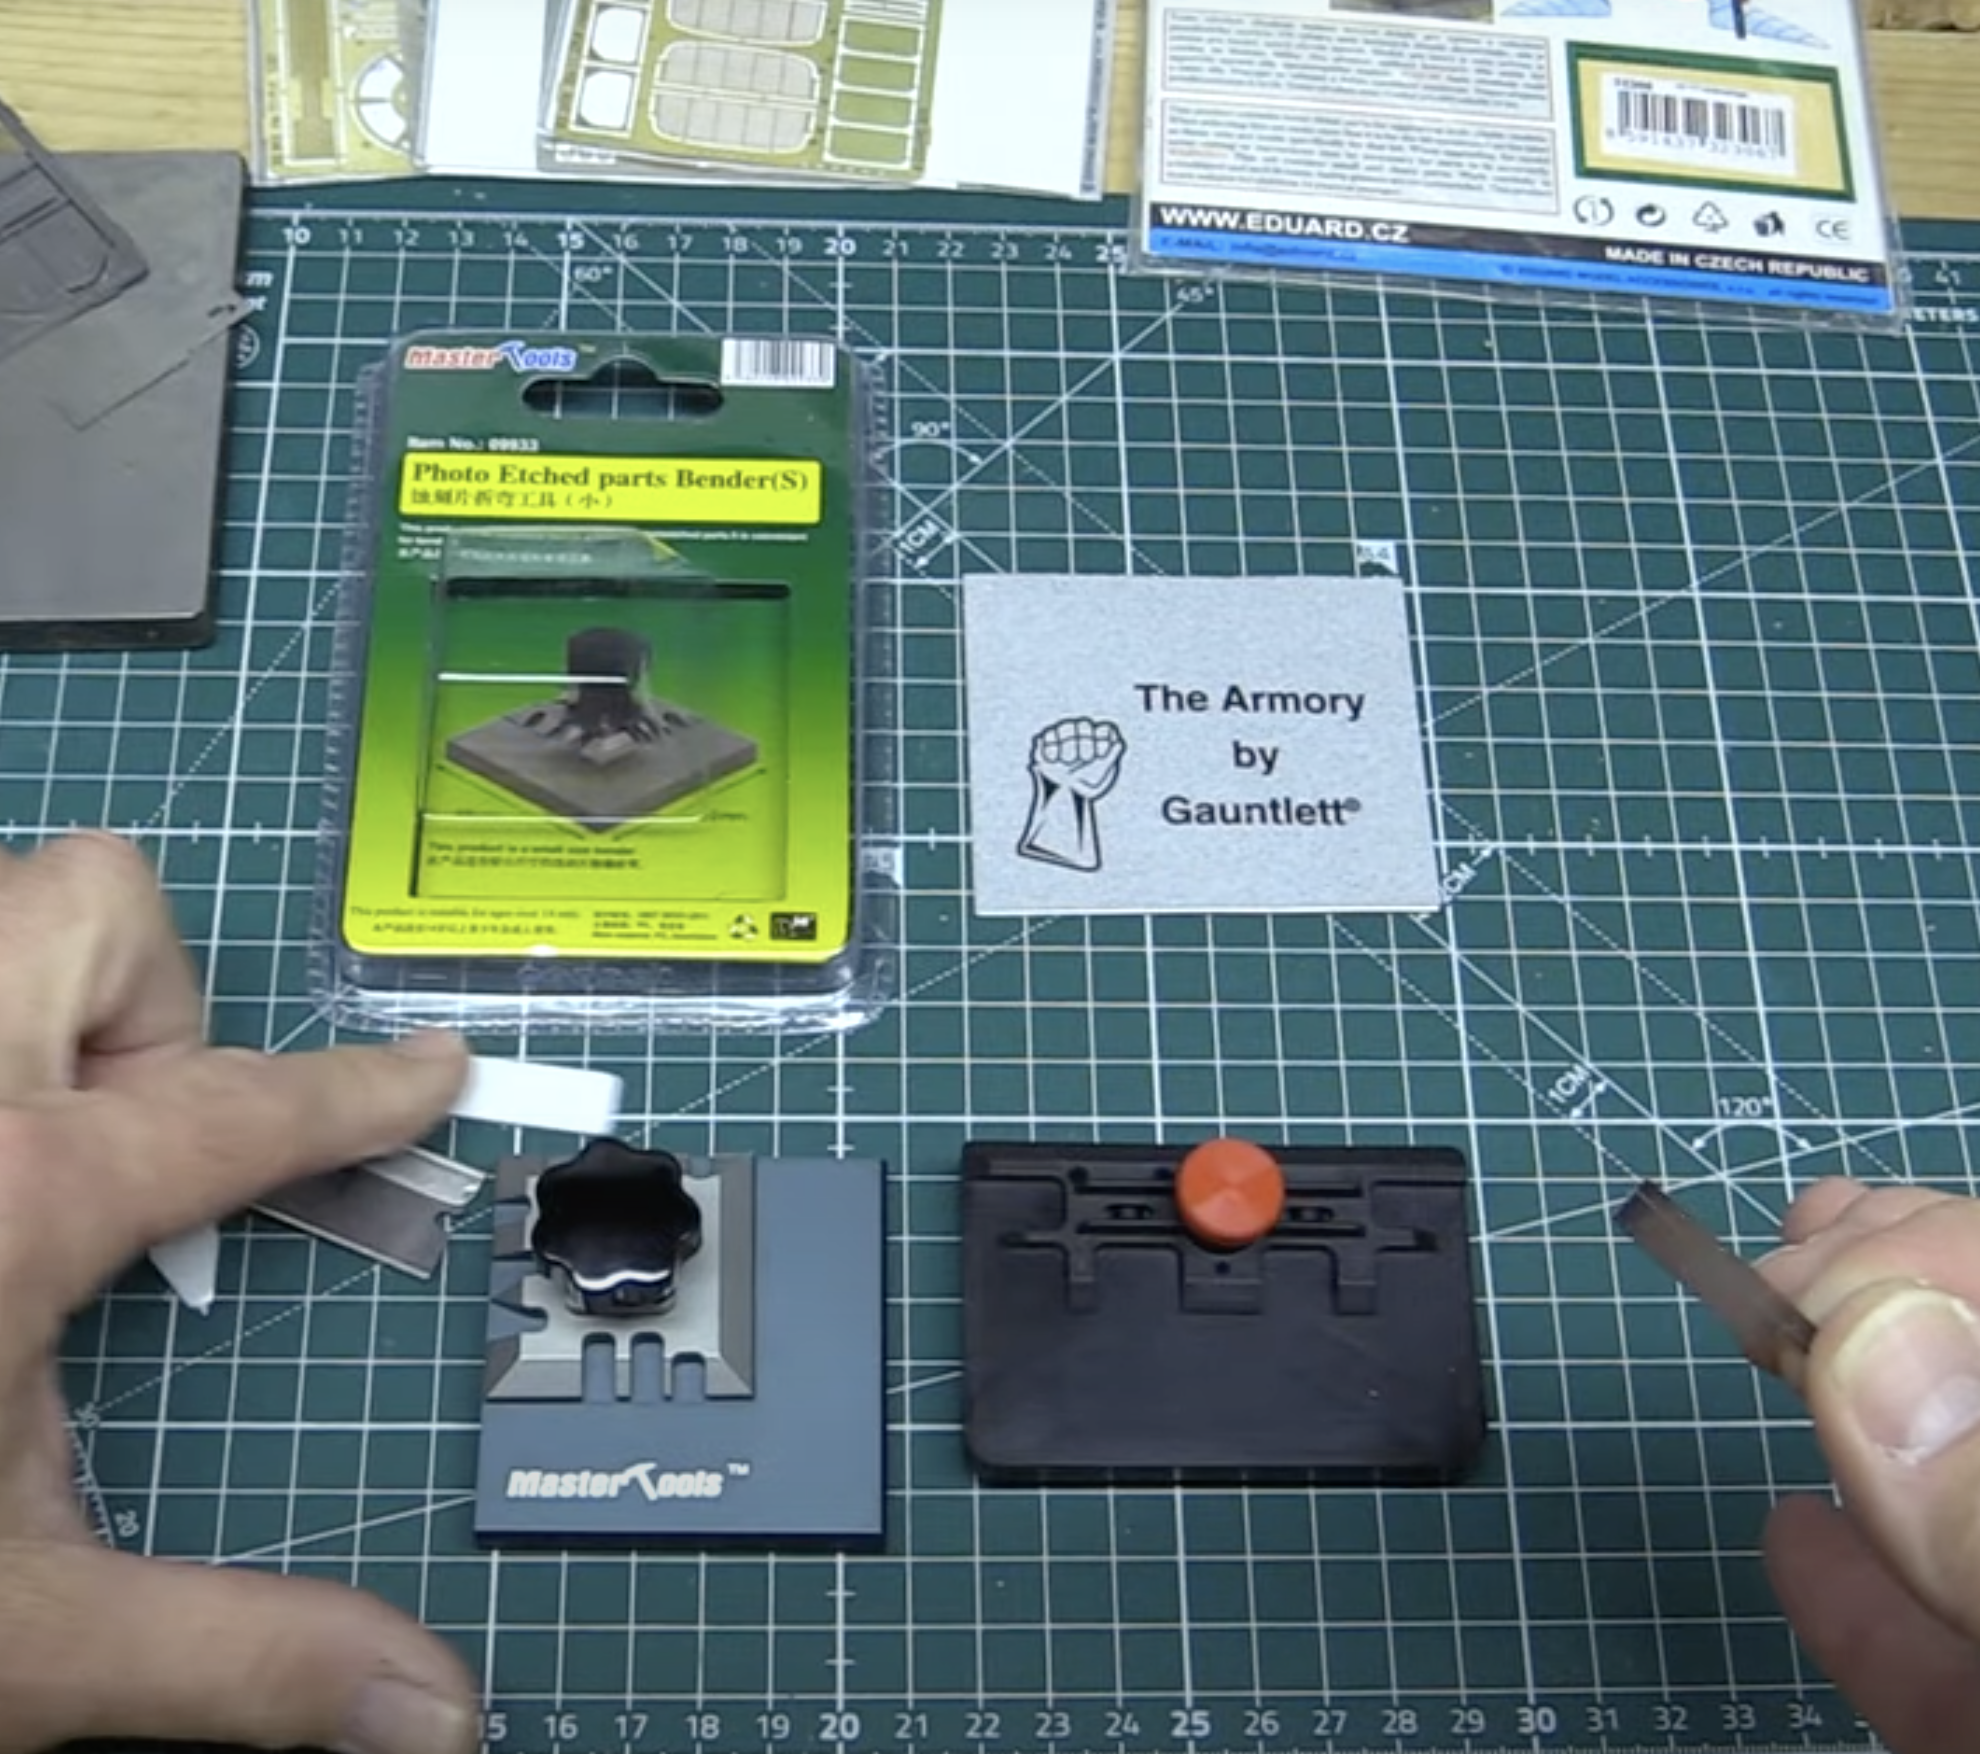
Let's explore the tools required for working with photo etch and resin parts:
Cutting Tools: Photo etch scissors or straight edge cutting tools are used to remove parts from the fret, ensuring delicate and precise cuts.
Bending Tools: Bending pliers, photo etch bending jigs, and brass rods aid in shaping and folding photo etch parts accurately, especially for intricate bends and curves.
Surface Plate and Angled Blocks: A sturdy surface plate and angled blocks ensure precision and accuracy while bending or shaping parts.
Adhesives: Cyanoacrylate glue (CA glue) in various thicknesses, epoxy glue, and accelerator facilitate attaching these parts to the model.
Tweezers, Burnishers, and Sanding Materials: Quality tweezers of different sizes, burnishing fluid for darkening metal parts, and sanding materials for surface preparation are essential.
Steps for Installing Photo-Etched Parts
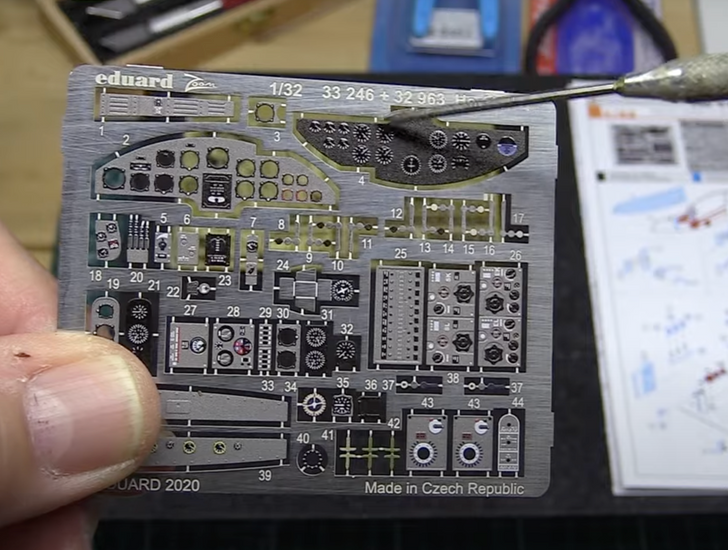
Detach Parts: Begin by carefully cutting the photo-etched parts from the carrier sheet. These parts will replace the existing details on the kit components.
Prepare the Instrument Panel: Take the instrument panel, the clear sheet with instruments, and the overlay panel. Lay them out in the following order: the instruments on the panel, the clear sheet (representing glass dials), and then the actual overlay panel.
Assembly: Create a sandwich with the clear piece positioned between the instruments and the instrument panel. Once aligned, glue these pieces together. This assembly method creates a realistic illusion of glass covering the instruments on the panel.
Installation: After assembling the panel, install it into the cockpit.

The finished installation showcases a beautifully detailed panel that enhances the realism of the cockpit.
A book like AK Interactive's "Photo Etch Parts: The Complete Guide" can serve as an invaluable reference for understanding the use and techniques for working with photo-etch parts. Additionally, sourcing detailed reference material specific to your model—featuring interior, exterior, and color profiles—ensures accurate and realistic detailing.
By mastering these tools and techniques, modelers can greatly
enhance the accuracy and visual appeal of their scale model kits using photo-etch and resin detailing parts.

