How to Use Plastic Cement on a Model Kit
Posted by MegaHobby.com on Apr 29th 2024
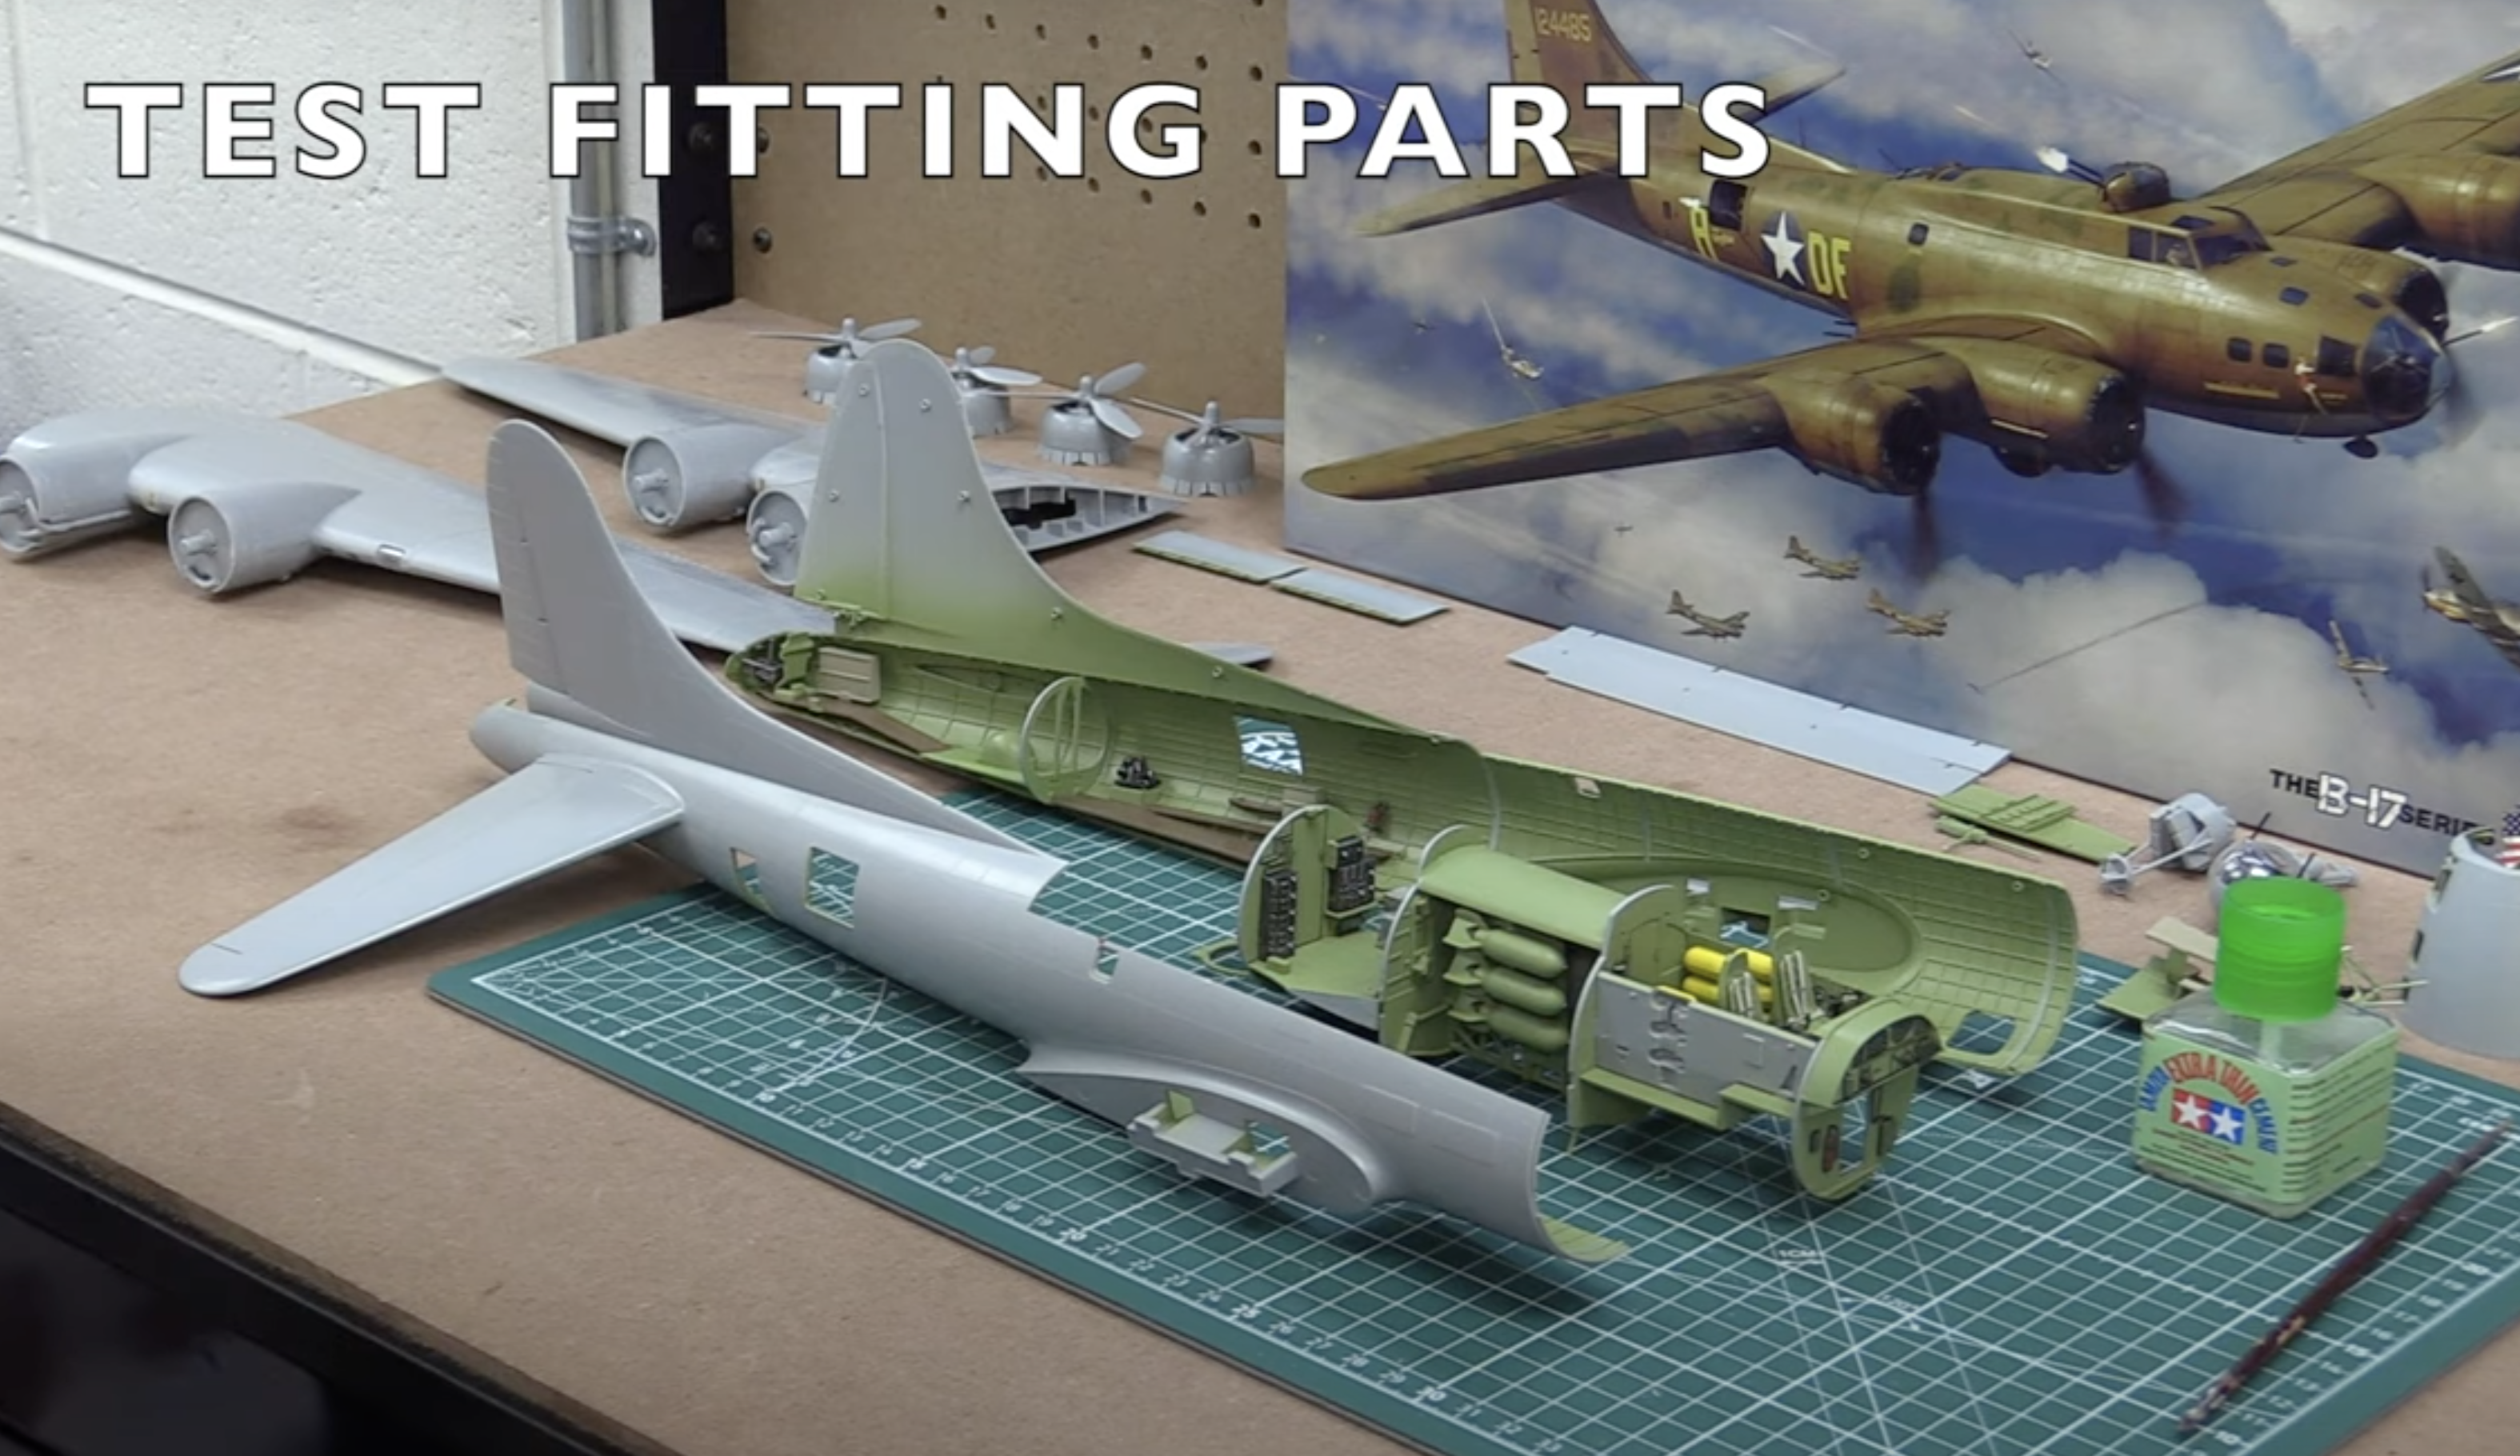
In working on a 1/48 scale B-17F model from HK Models, we've prepped the fuselage halves for assembly. Here's a step-by-step guide on preparing and joining the parts:

Prepping Parts and Assembly
Interior Painting: Start by painting the interior sections of the fuselage before assembly. This step ensures that the internal details are colored before closing the fuselage, where access becomes limited.
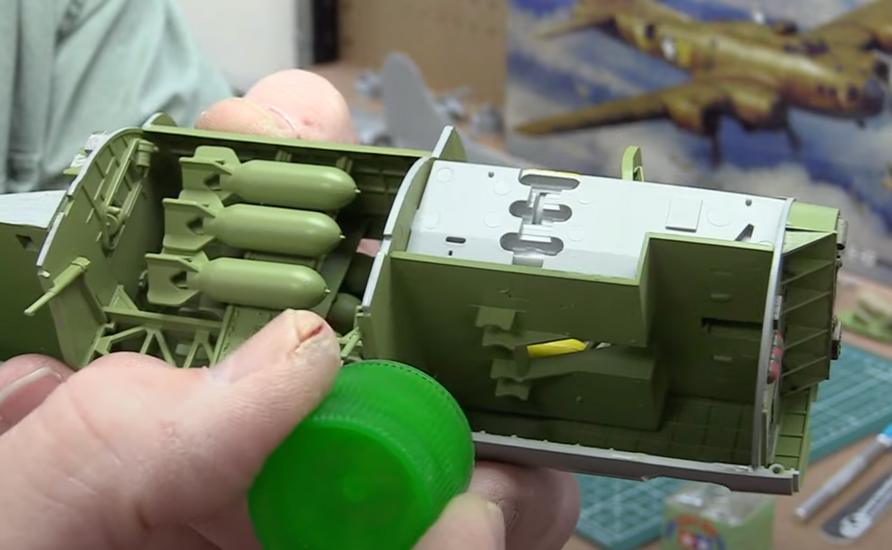
Dry Fit Test: Test the fit of the interior parts without applying glue. Place the interior pieces within one fuselage half and align them properly. Then, fit the other half over them to ensure a good fit, making any necessary adjustments before applying any adhesive.
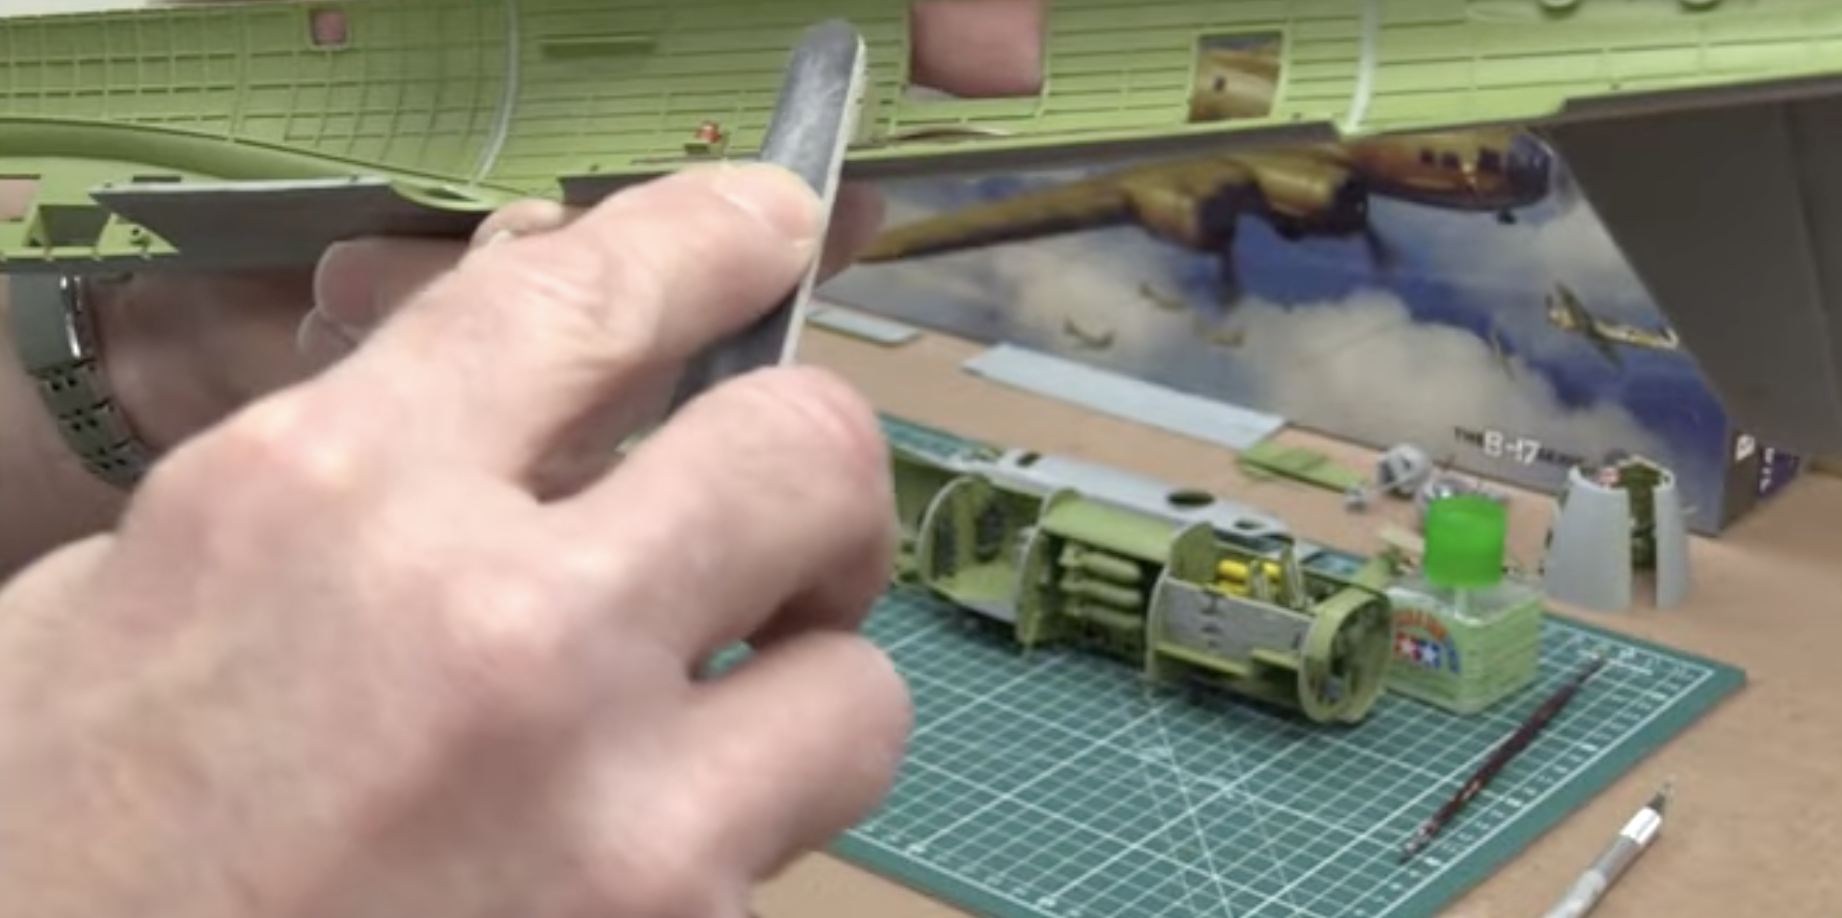
Preparing for Glue: Identify the contact points where the parts will join. Scrape off the paint from these areas to ensure a clean plastic-to-plastic bond. For instance, scrape the paint off the bulkheads where they attach to the fuselage halves.
Glue Application: Use liquid cement for the assembly process. Apply the cement using a brush, ensuring it reaches into the seams for a secure bond. Work in a sequence, gluing each bulkhead individually, holding each in place until it dries solidly.
Fuselage Assembly: Once the interior parts are glued in place, proceed to join the fuselage halves. Apply liquid cement along the seam lines, press the halves together firmly, and hold them in position.
Securing the Assembly: To prevent any separation during the drying process, employ masking tape and rubber bands to hold the parts together until the cement sets completely.
Choice of Glue: Consider using different types of cement for varying purposes. Liquid cement works well for precision gluing, while quick-setting cement is preferable for larger parts where a swift bond is needed.

Final Tips
Test Fitting: Always ensure a dry fit before applying glue to understand how the parts align.
Prep Work: Scrape or sand off paint at contact points to ensure a clean bond between parts.
Gluing Process: Apply glue carefully and swiftly, securing the parts and holding them together until the cement sets.
Securing the Assembly: Use masking tape or clamps to keep parts together until the cement dries completely.
By following these steps and employing the right tools and adhesives, you'll achieve a strong, well-joined assembly in your model aircraft construction. Good luck with your assembly work!

